How to Style a Shag Haircut at Home (Easy Guide)

This post may contain affiliate links, which means I'll receive a commission if you purchase through the link at no extra cost to you. Please read the full disclosure here.
TL;DR
If you’re wondering how to style a shag haircut at home, the key is to focus on volume, texture, and movement rather than trying to make your hair look perfectly polished.
- Use lightweight mousse for root lift
- Add texturizing spray for separation
- Air-dry for natural waves
- Diffuse for extra volume
- Use a flat iron for soft, piece-y bends
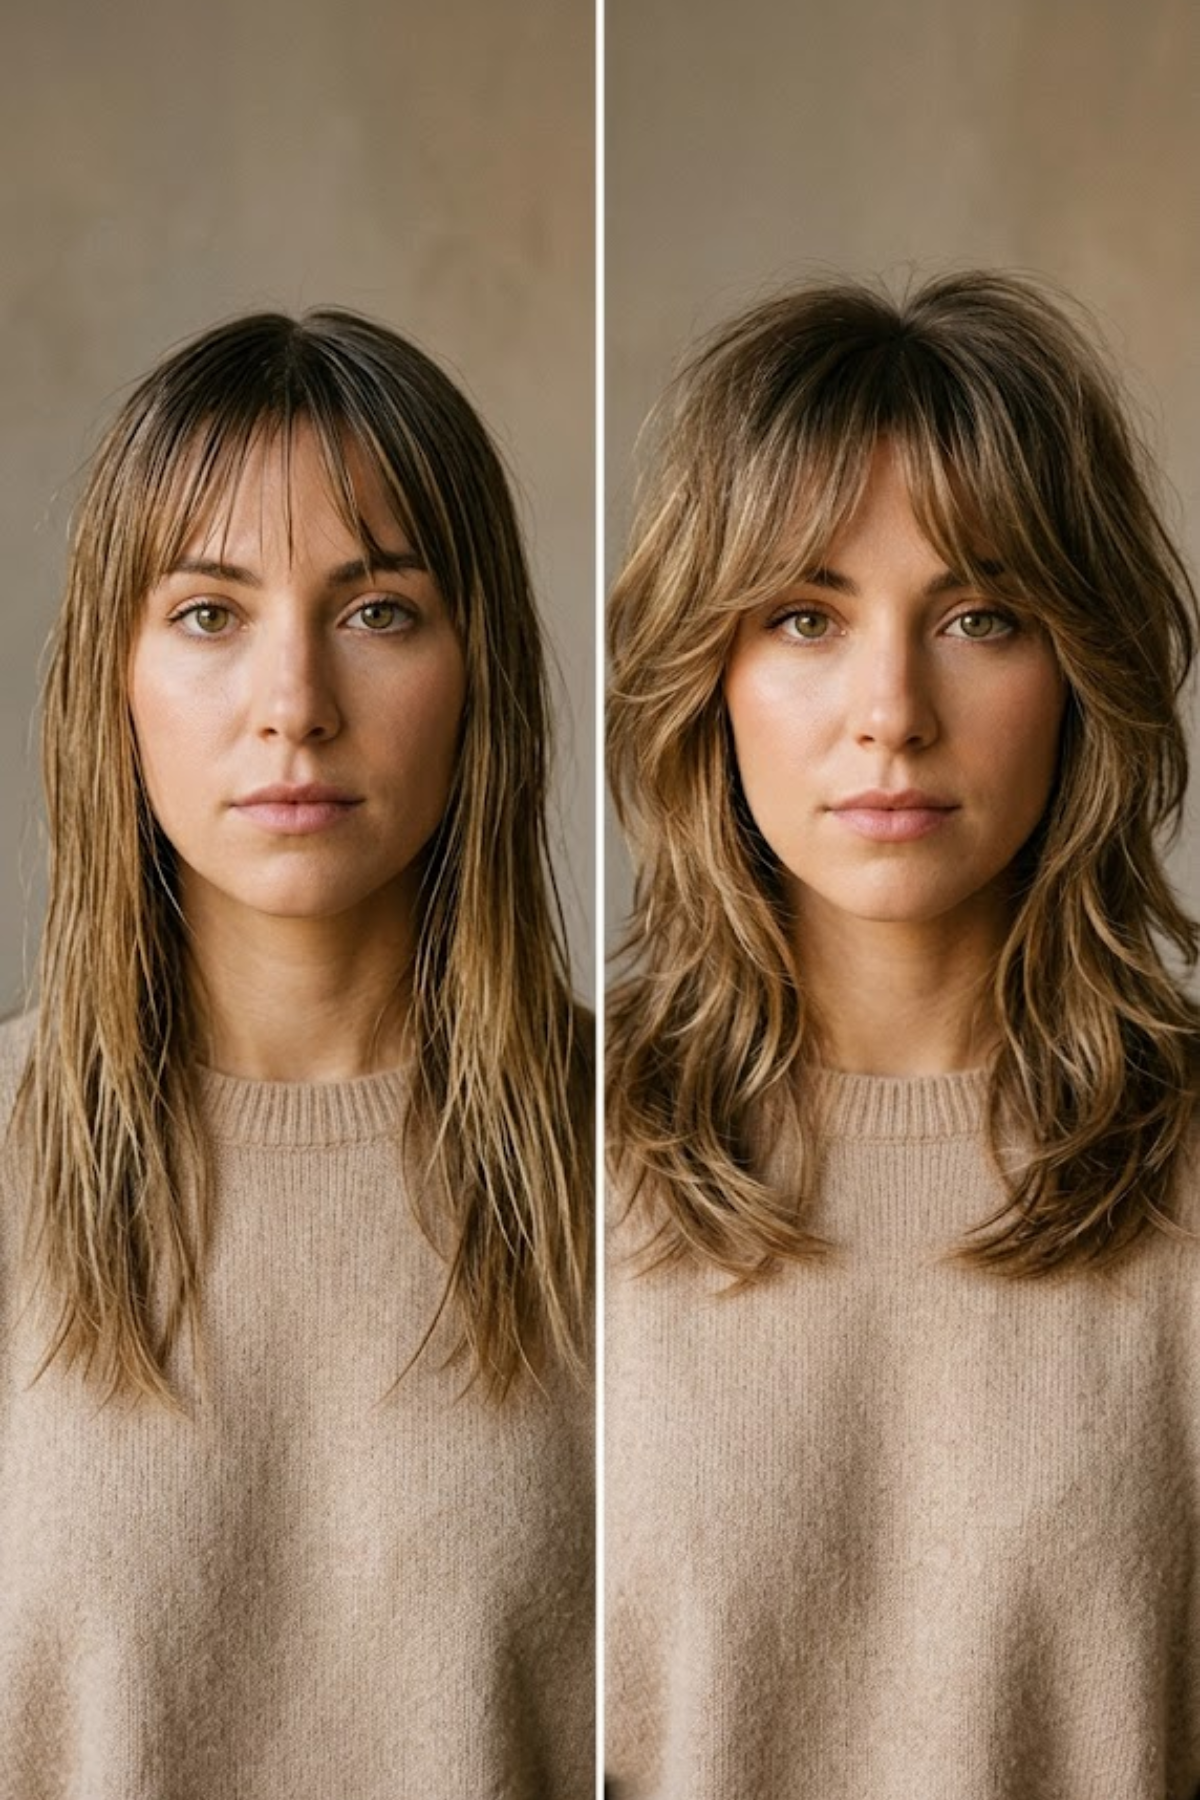
The most important step is building volume at the crown and avoiding heavy products or over-brushing, which can flatten your layers. Once you understand how to work with your natural texture, styling a shag becomes quick, easy, and effortlessly styled every time.
Your shag looked amazing at the salon, but now it just looks messy, flat, or undefined.
I see this all the time with clients. They leave with that perfect, effortless texture, and then a week later, they’re wondering why their layers just aren’t hitting the same.
A shag haircut is 90% styling and only 10% the cut itself.
After 10+ years behind the chair, I can tell you this is the #1 mistake people make: they treat a shag like a regular layered haircut. But it’s not. It needs a completely different approach.
In this guide, I’ll walk you through exactly how to style a shag haircut at home so it looks intentional, voluminous, and full of movement. You’ll learn:
Easy, step-by-step styling methods (for every hair type)
Quick 5–10 minute routines for real life
The biggest mistakes that are ruining your shag (and how to fix them)
By the end, you’ll know exactly how to bring your shag back to life without needing salon skills or a million products.
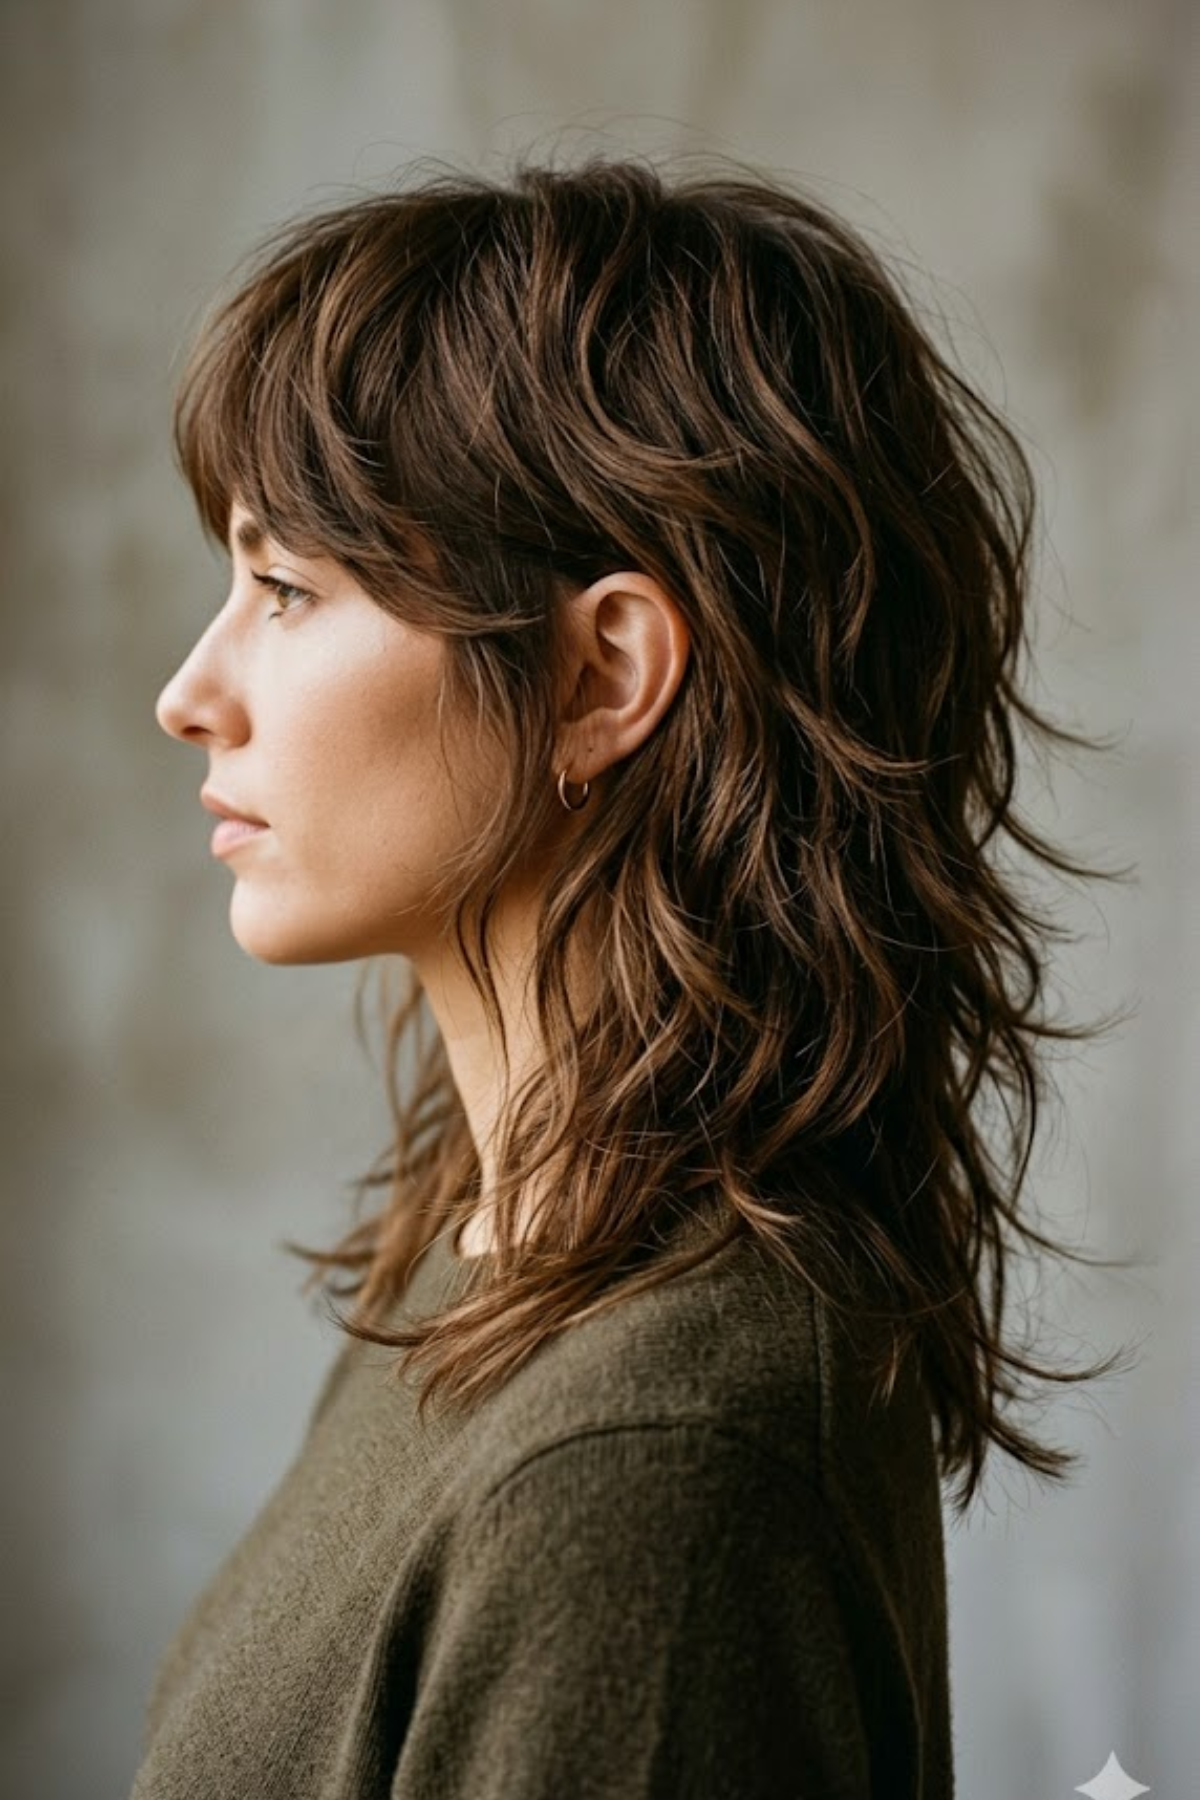
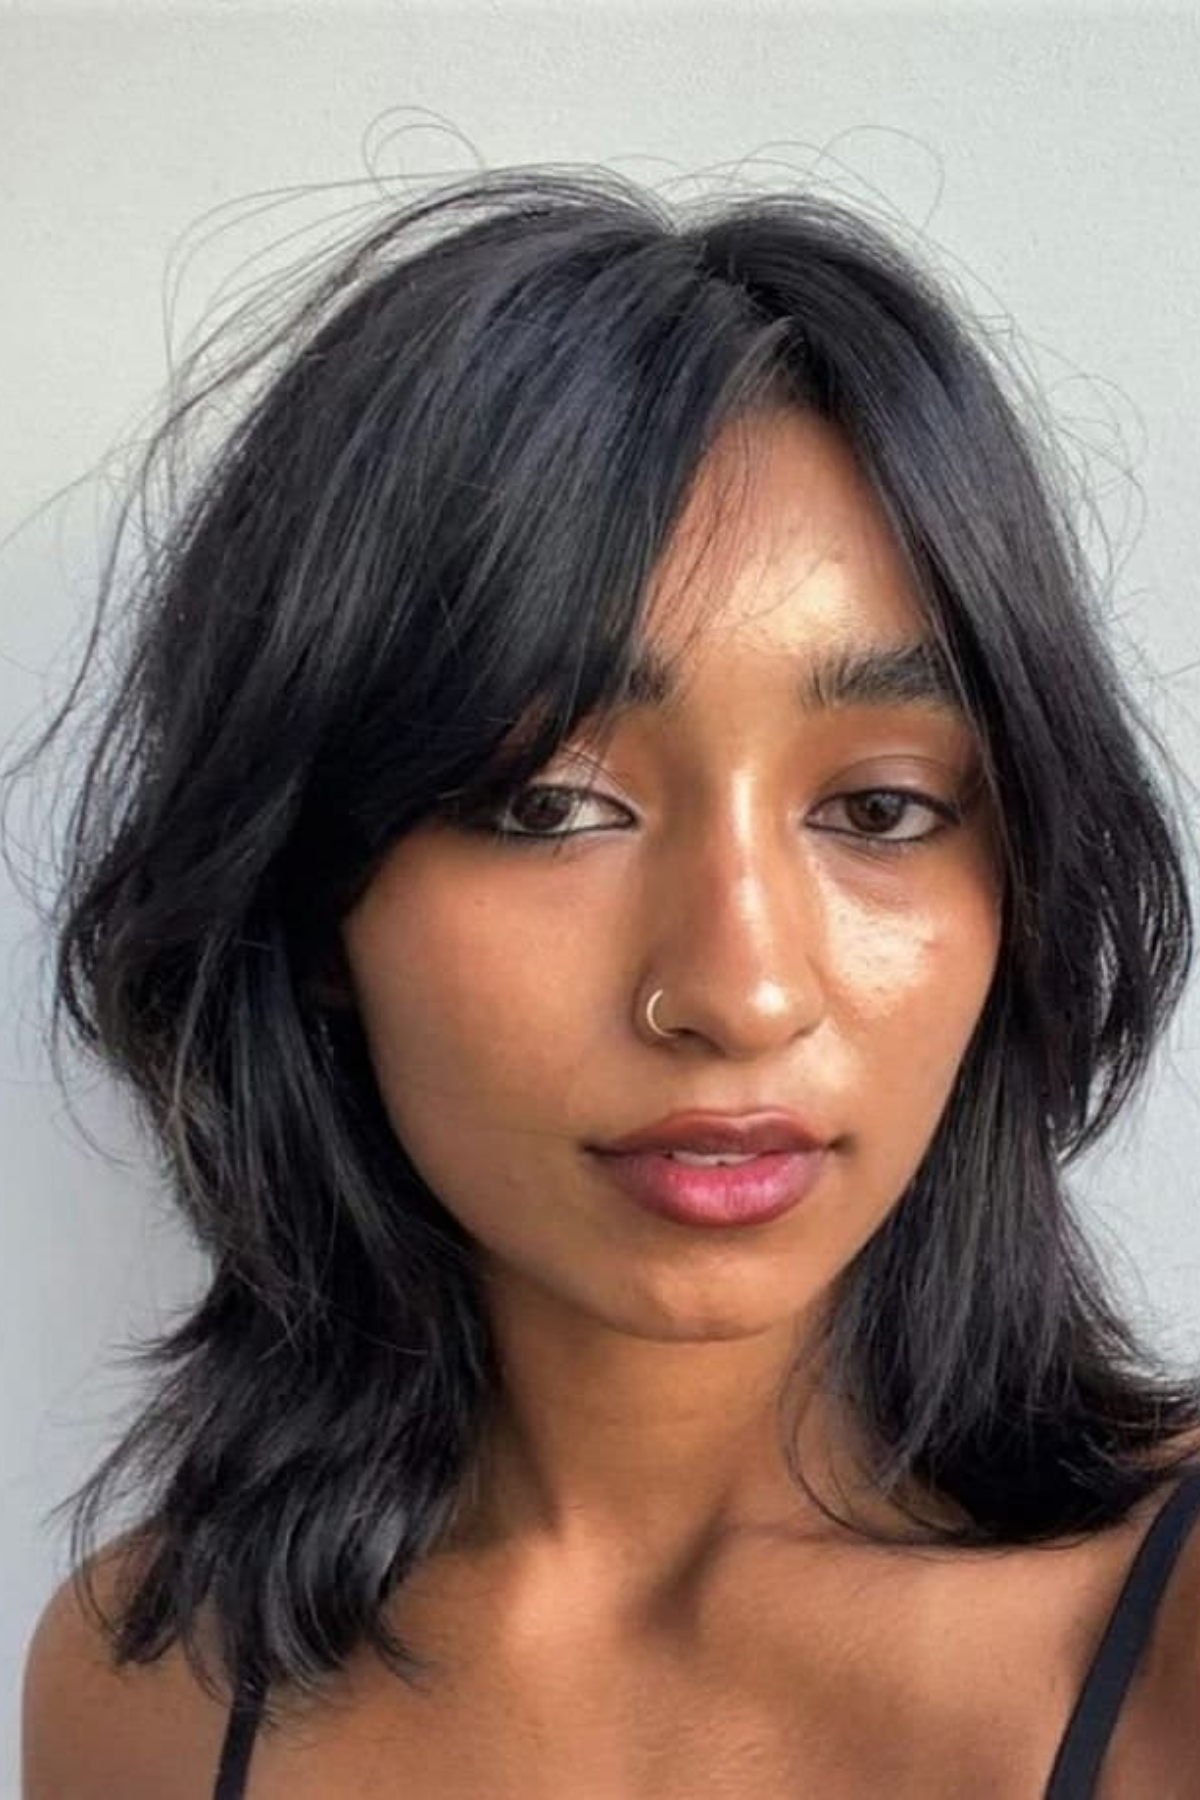
What a Shag Haircut Should Look Like?
Before you even pick up a brush or styling product, you need to understand this:
If you don’t know what a shag is supposed to look like, you’ll end up styling it completely wrong.
What Is a Shag Haircut?
A shag haircut is a heavily layered, textured cut designed to create:
Volume at the crown
Soft, broken-up ends
Natural movement and separation
Unlike traditional haircuts, a shag is meant to look:
Slightly undone
Airy and lightweight
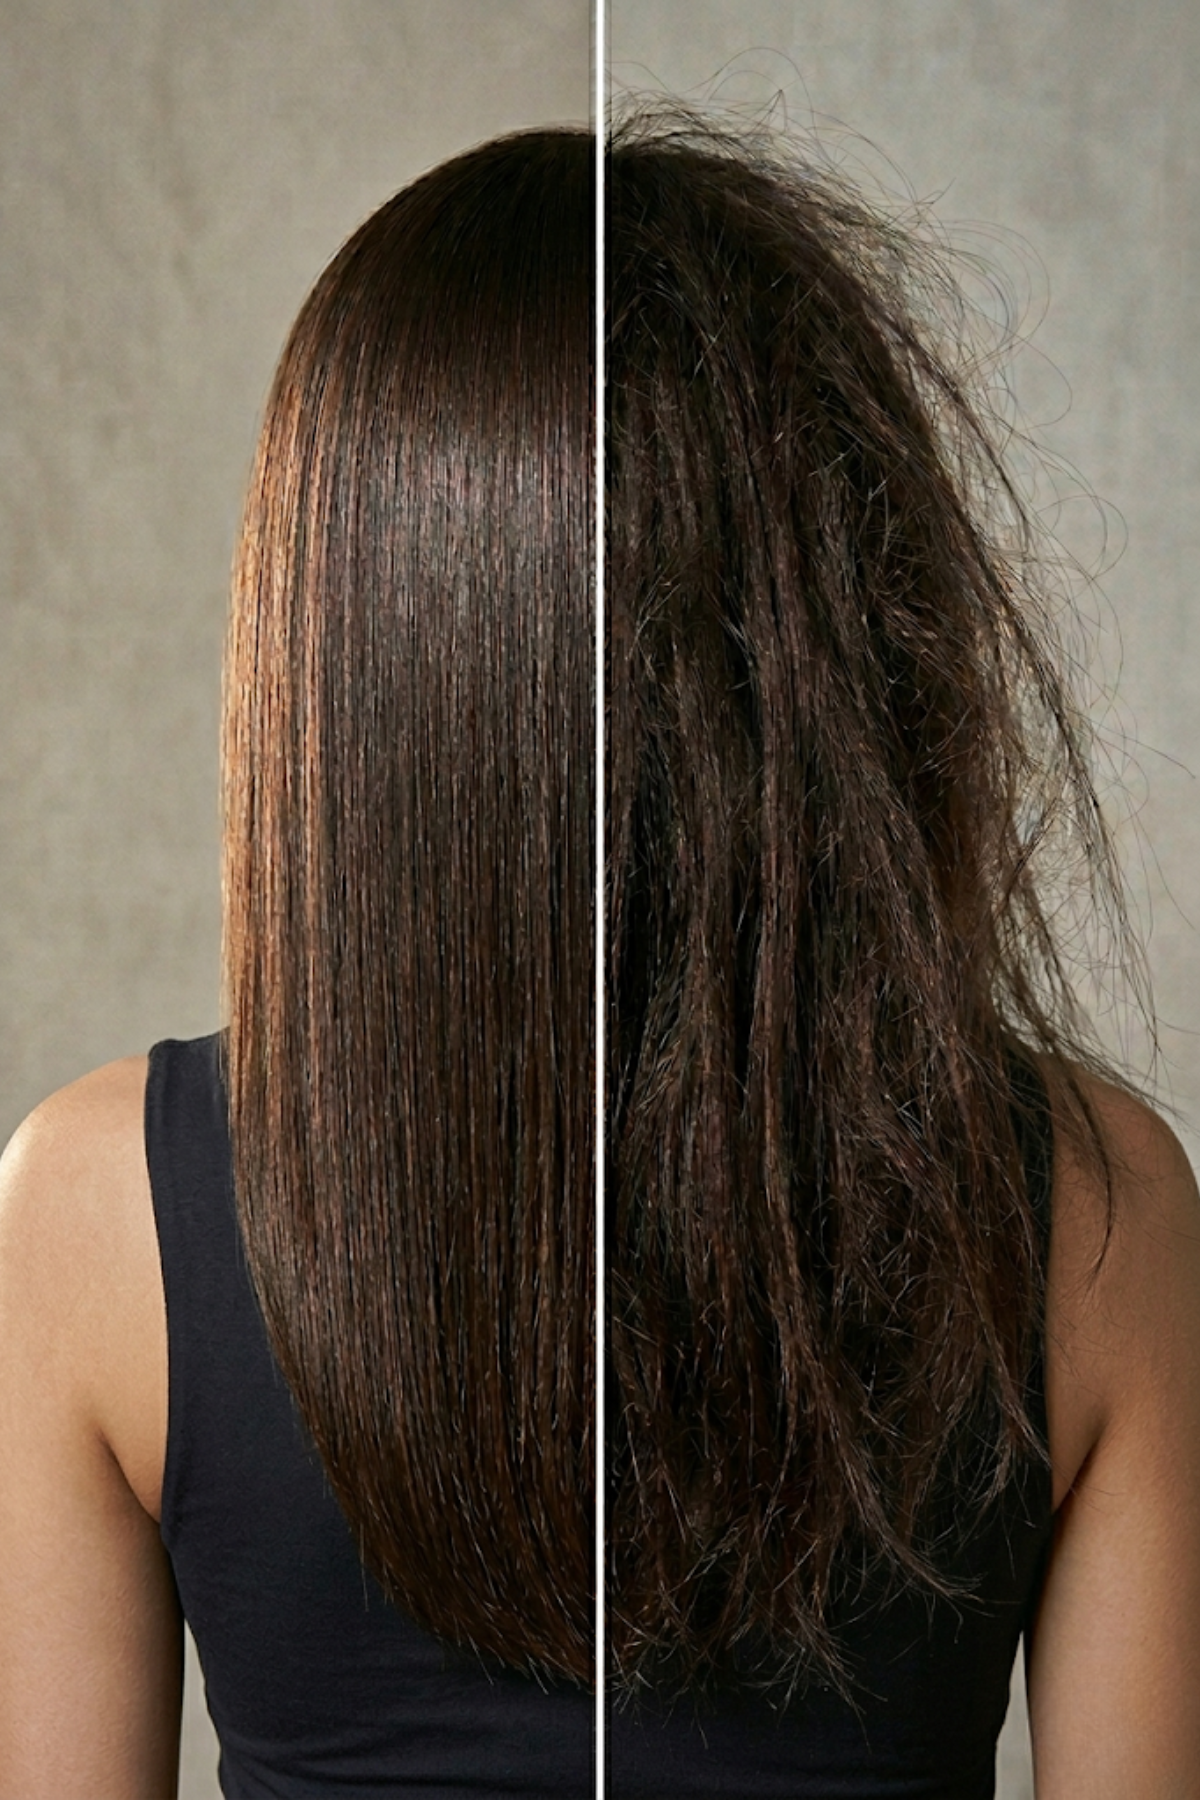
Full of texture; not polished or stiff
What’s the Difference Between Layers and a Shag?
This is where most people get confused.
Regular layers are structured and blended for a smooth, polished finish
Shag layers are intentionally choppy and separated to create texture and movement
Here’s the key difference I explain to my clients:
Layers = smooth + controlled
Shag = messy + lived-in (on purpose)
What a Properly Styled Shag Should Look Like
When your shag is styled correctly, you’ll notice:
Lift at the crown: This is what gives the haircut its shape.
Defined, piece-y layers: Not blended into one smooth block.
Movement when you touch it: Hair shouldn’t feel stiff or heavy.
Face-framing texture (especially around bangs): This is where the personality of the cut shows.
👉 See the simple styles that define your natural hair without piling on products.
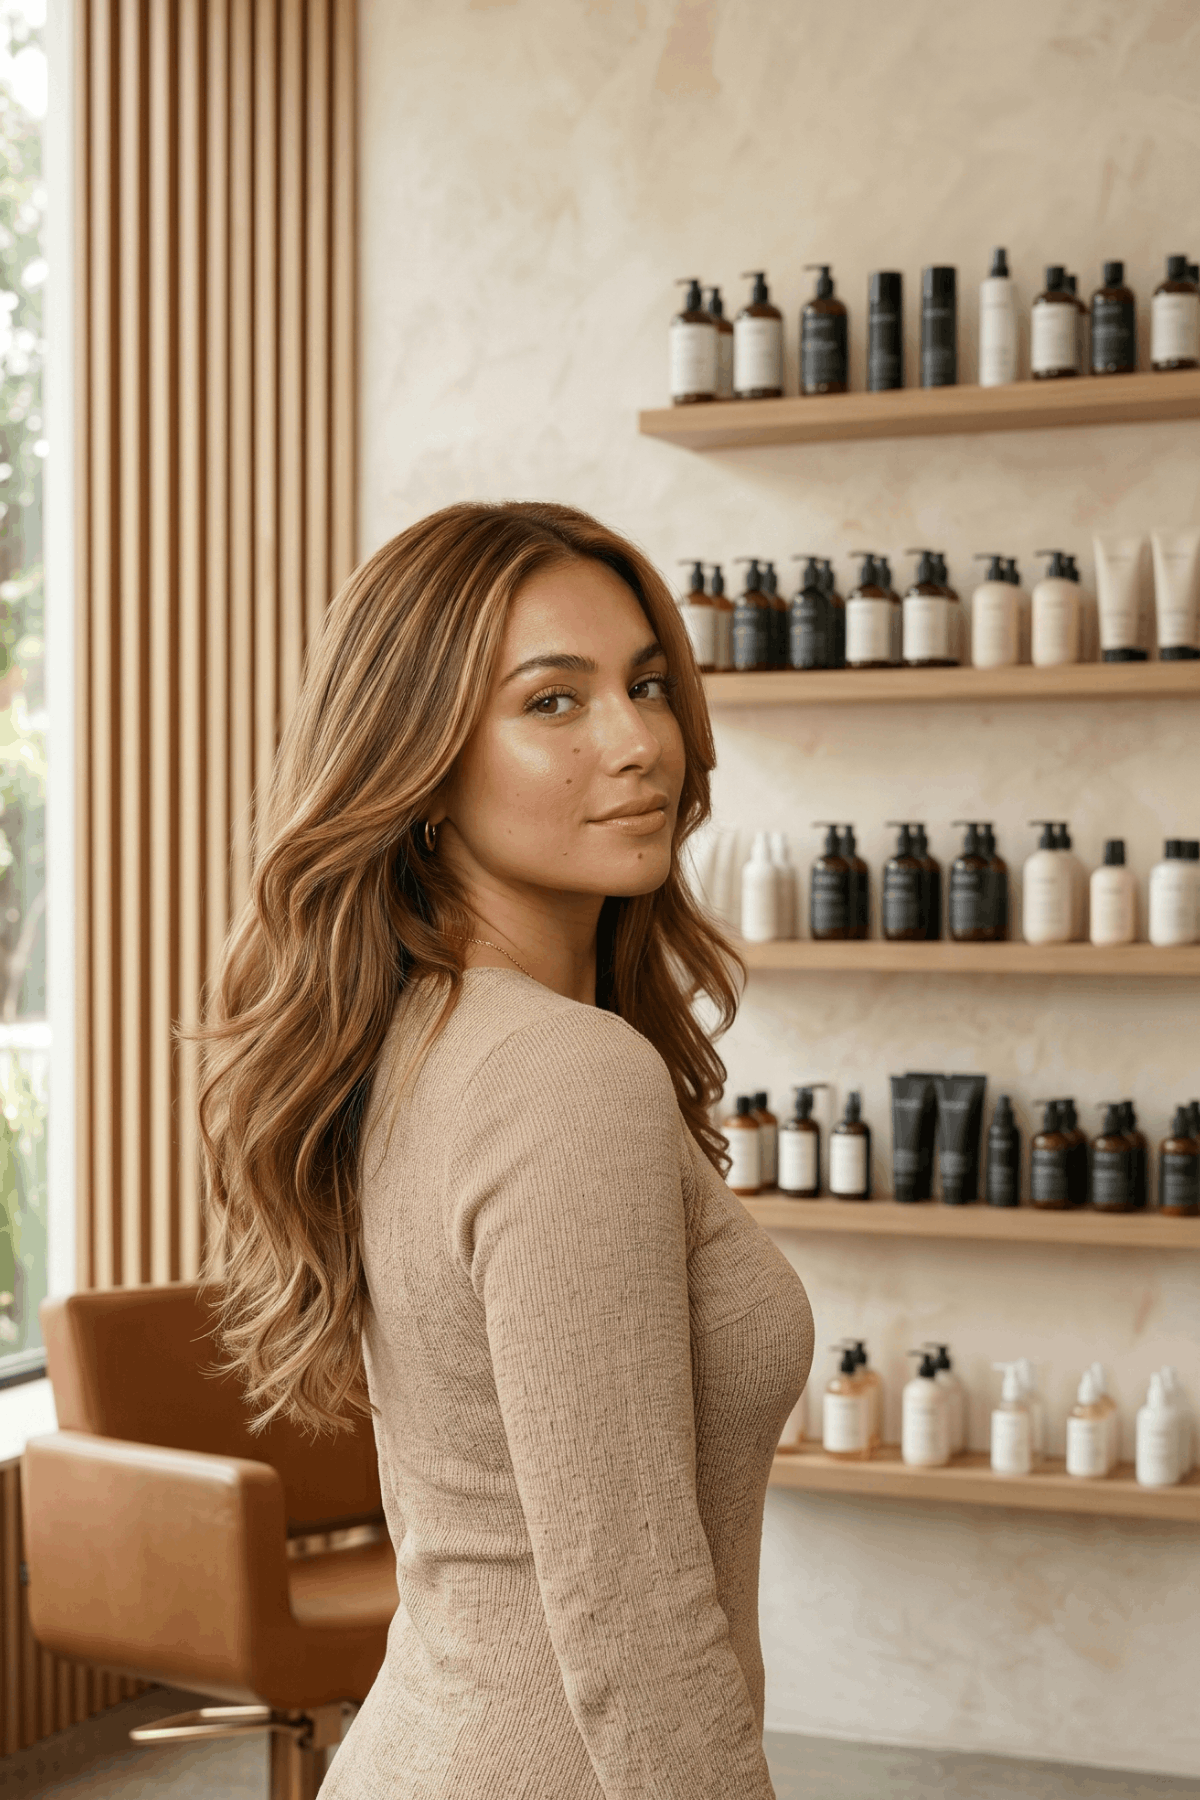
Essential Tools & Products for Shag Styling
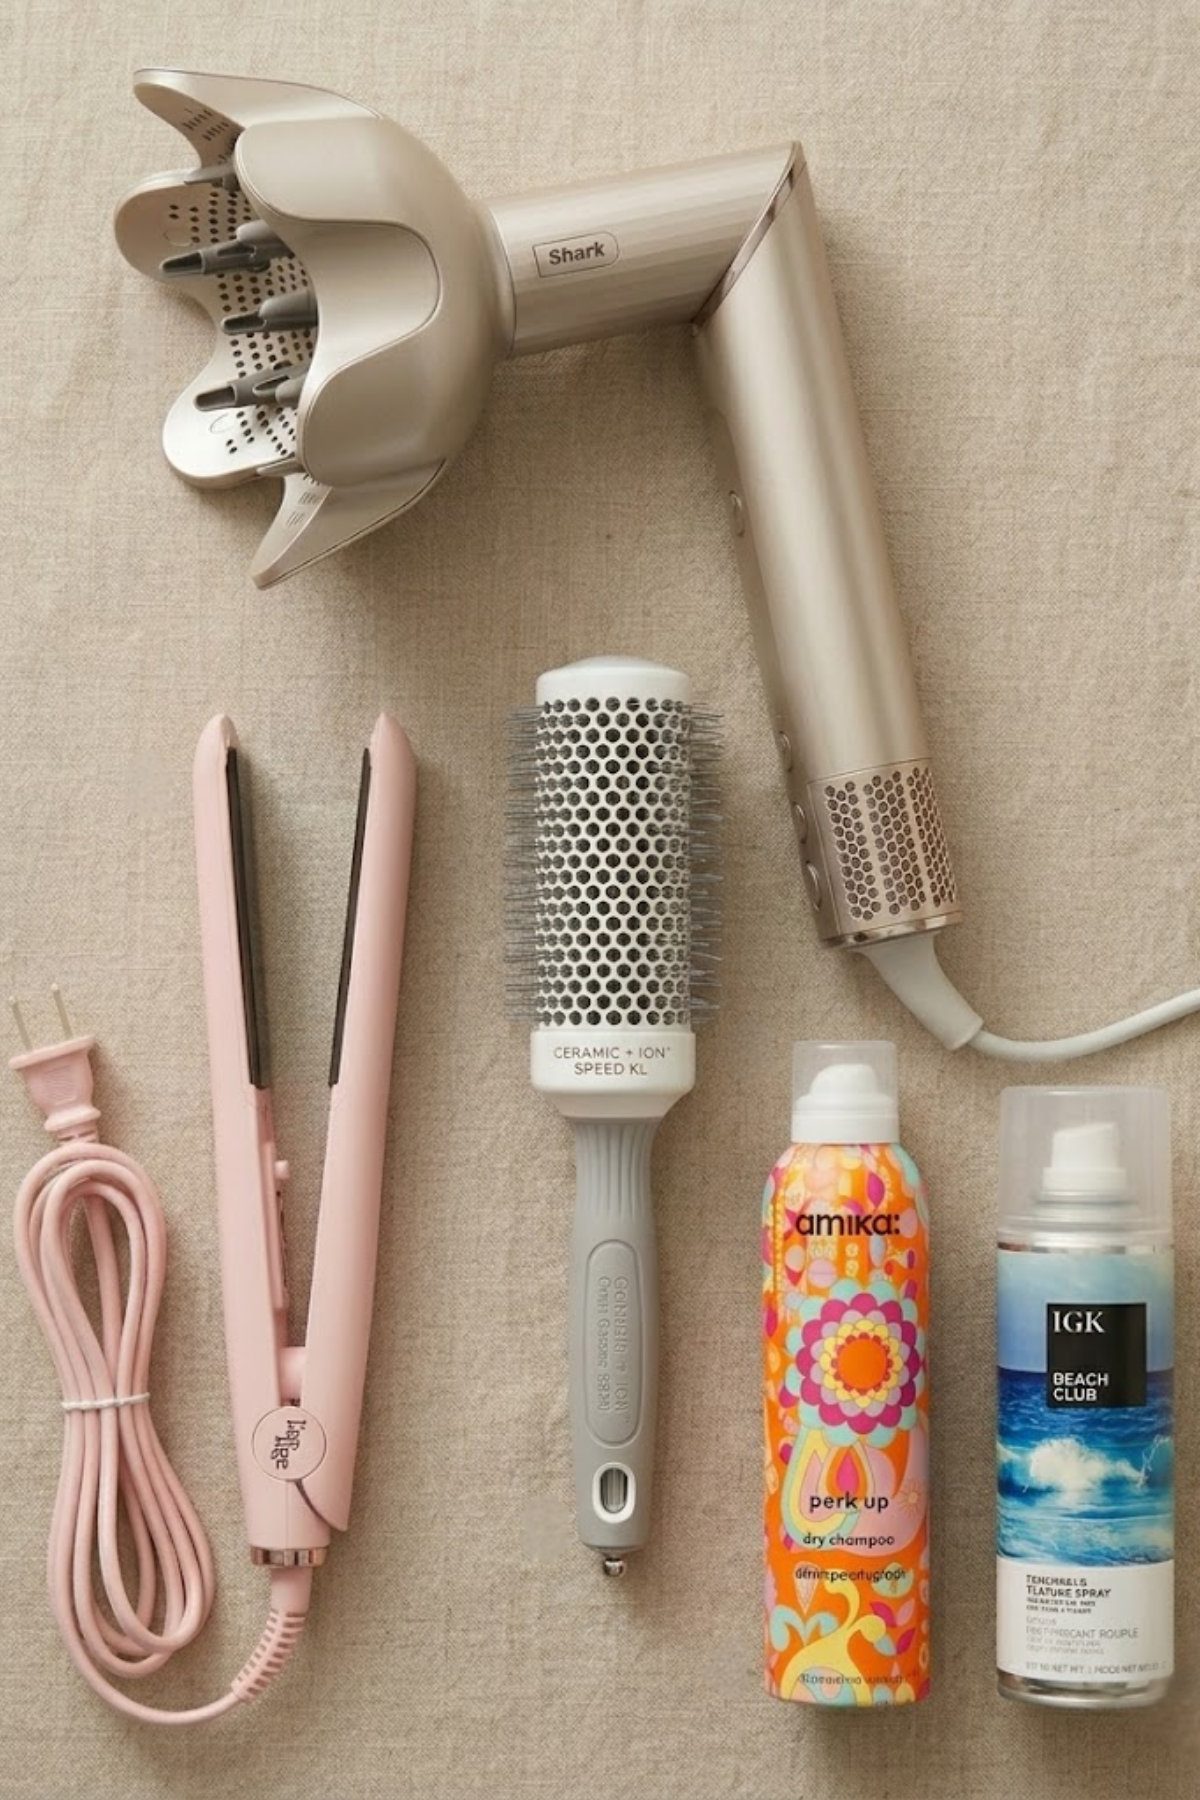
| Tool/Product | Buy | Why It Matters | Pro Tip |
|---|---|---|---|
| Blow Dryer + Diffuser | Shop | Adds volume and enhances natural texture | Flip your head upside down while diffusing for extra lift |
| Flat Iron / Curling Wand | Shop | Creates piece-y, undone waves for straight hair | Bend sections slightly; don’t fully curl |
| Round Brush | Shop | Lifts the crown and shapes bangs | Focus only on fringe + top layers, not the whole head |
| Sectioning Clips | Shop | Helps control layers and speeds up styling | Work in small sections for better definition |
| Mousse | Shop | Adds lightweight volume without stiffness | Apply mostly at the roots for lift |
| Texturizing Spray | Shop | Creates separation and that “shaggy” finish | Spray lightly and break up with fingers |
| Dry Shampoo | Shop | Instantly lifts flat roots | Use even on clean hair for volume |
| Heat Protectant | Shop | Prevents heat damage | Always apply before any hot tool |
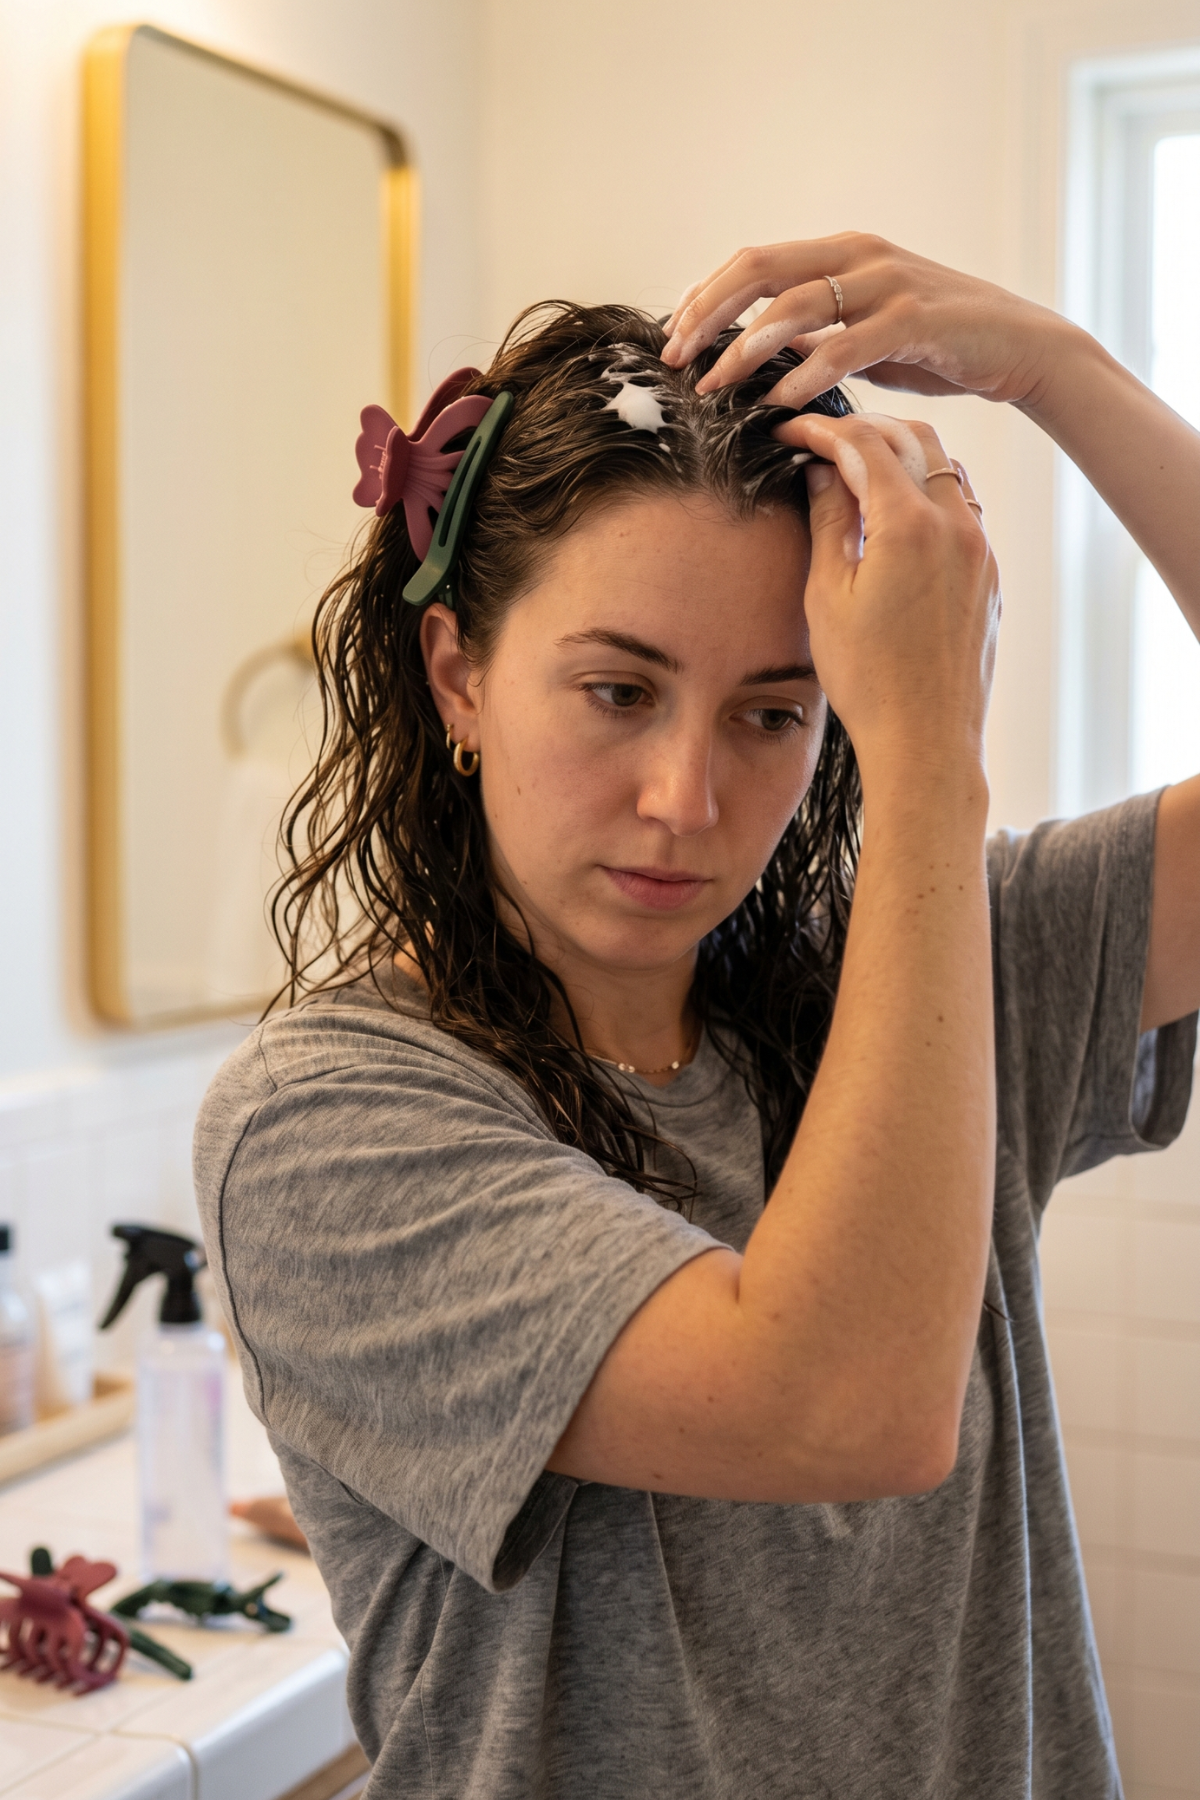
How to Prepare Your Hair Before Styling a Shag Haircut
Source: Pinterest
If your shag falls flat after an hour, this is usually why.
Prep is what determines whether your style lasts or collapses.
Most people jump straight into styling, but with a shag, that’s a mistake. The way you prep your hair controls:
Volume at the crown
Layer definition
How long does your style hold
1. Start With the Right Hair Condition
Damp hair: best for air-dry or diffuser methods
Fully dry hair: best for flat iron or quick styling
Avoid soaking wet hair as it dilutes your products and reduces hold
2. Apply Products Strategically
Mousse (roots only): This is what builds volume at the crown
Heat protectant (mid-lengths to ends): Keeps layers healthy and smooth without weighing them down
3. Section Your Hair the Right Way
This step makes a huge difference, especially with layers.
Focus on 3 key zones:
Crown (top section) → for volume
Mid-length layers → for texture
Bangs/fringe → for face framing
Style Your Shag Haircut at Home Using These 5 Easy Methods
Not every shag should be styled the same way.
The best method depends on your hair type, texture, and how much time you have.
These are the exact methods I use behind the chair and what I recommend to clients who want that effortless, lived-in shag look at home.
Method 1: Air-Dry for Natural Texture (Best for Wavy Hair)
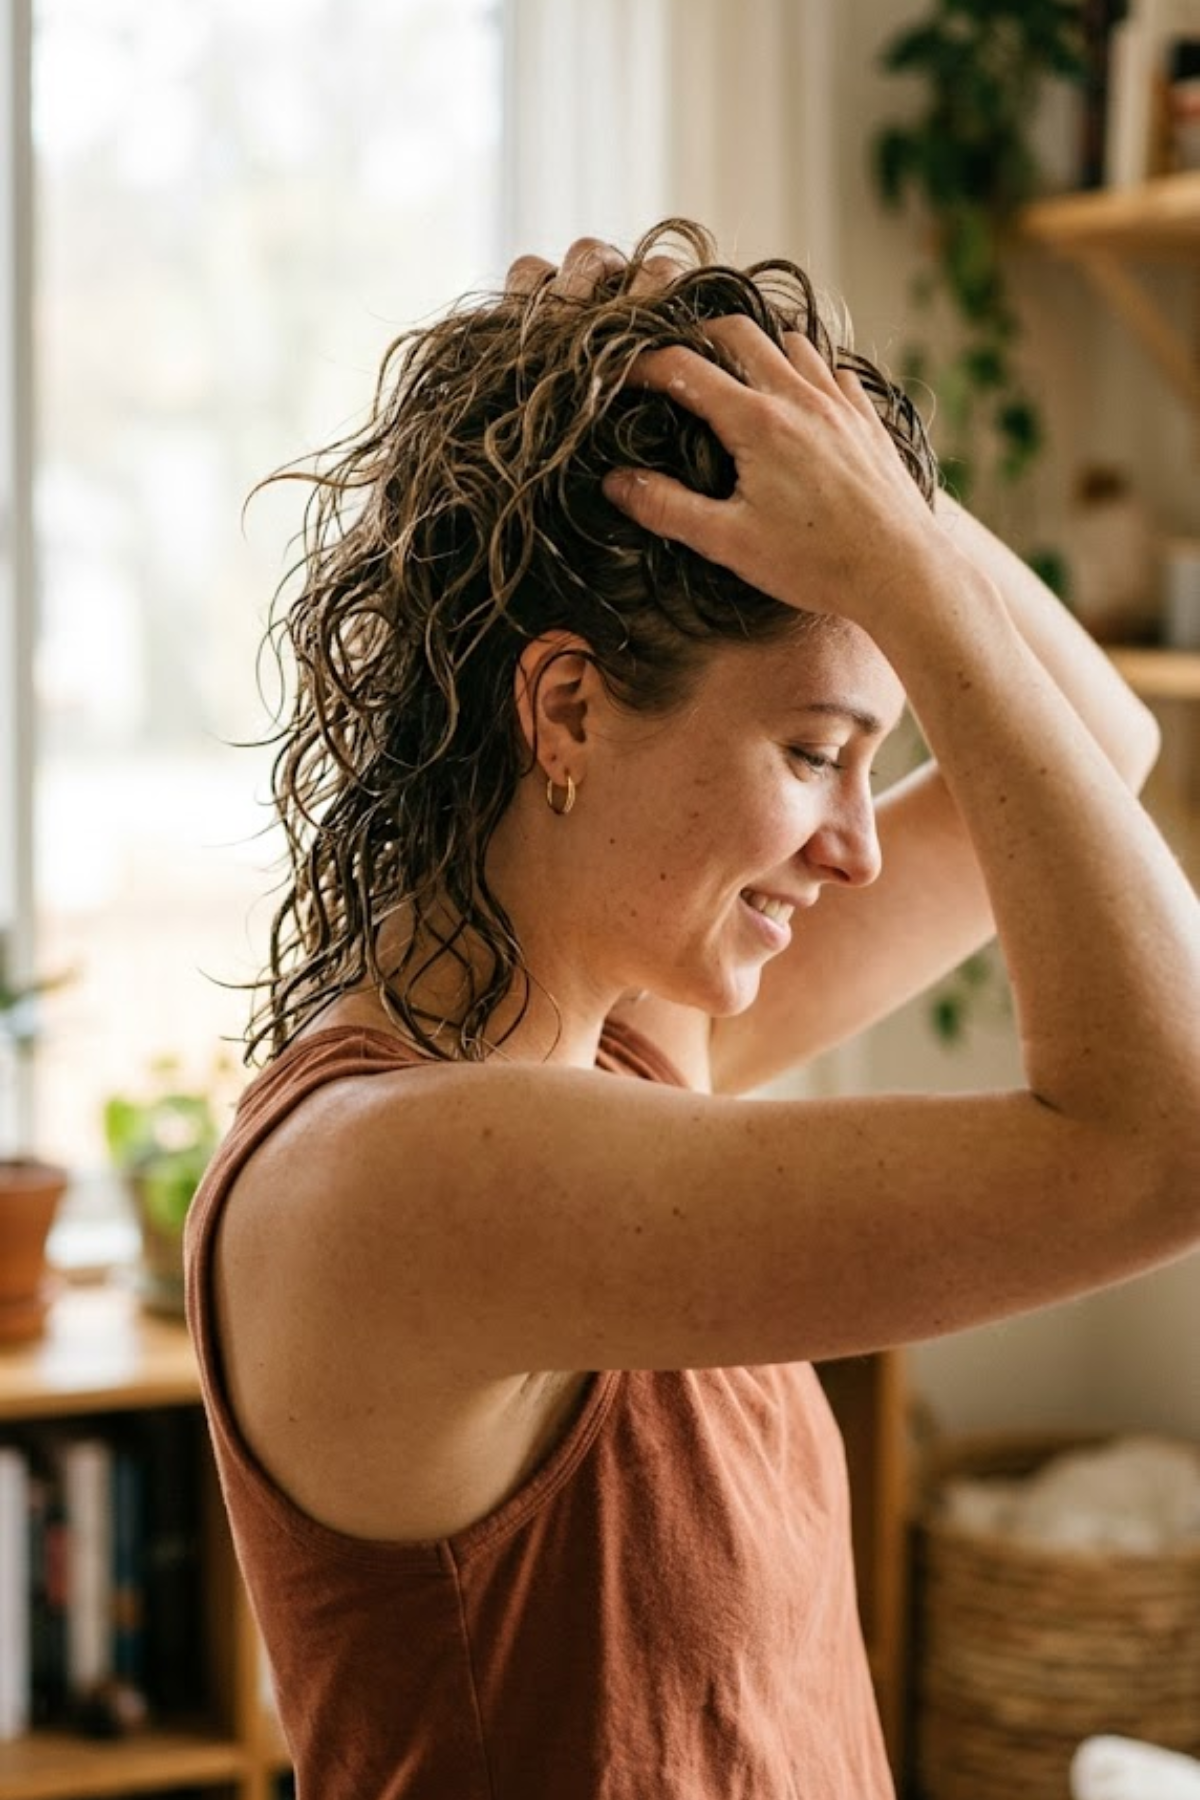
Source: Pinterest
Who It’s For:
- Naturally wavy or slightly curly hair
- Low-maintenance routines
Why It Works:
This method enhances your natural texture, which is exactly what a shag is designed for.
Step-by-Step:
Start with damp (not soaking wet) hair.
Apply a small amount of mousse to the roots.
Scrunch your hair upward using your hands.
Twist random sections away from your face.
Let your hair air dry completely.
Pro Tip
Don’t touch your hair while it’s drying. This prevents frizz. Once dry, use a light texturizing spray for separation. Flip your head upside down and shake it out for volume.
Method 2: Diffuser Method for Volume + Definition
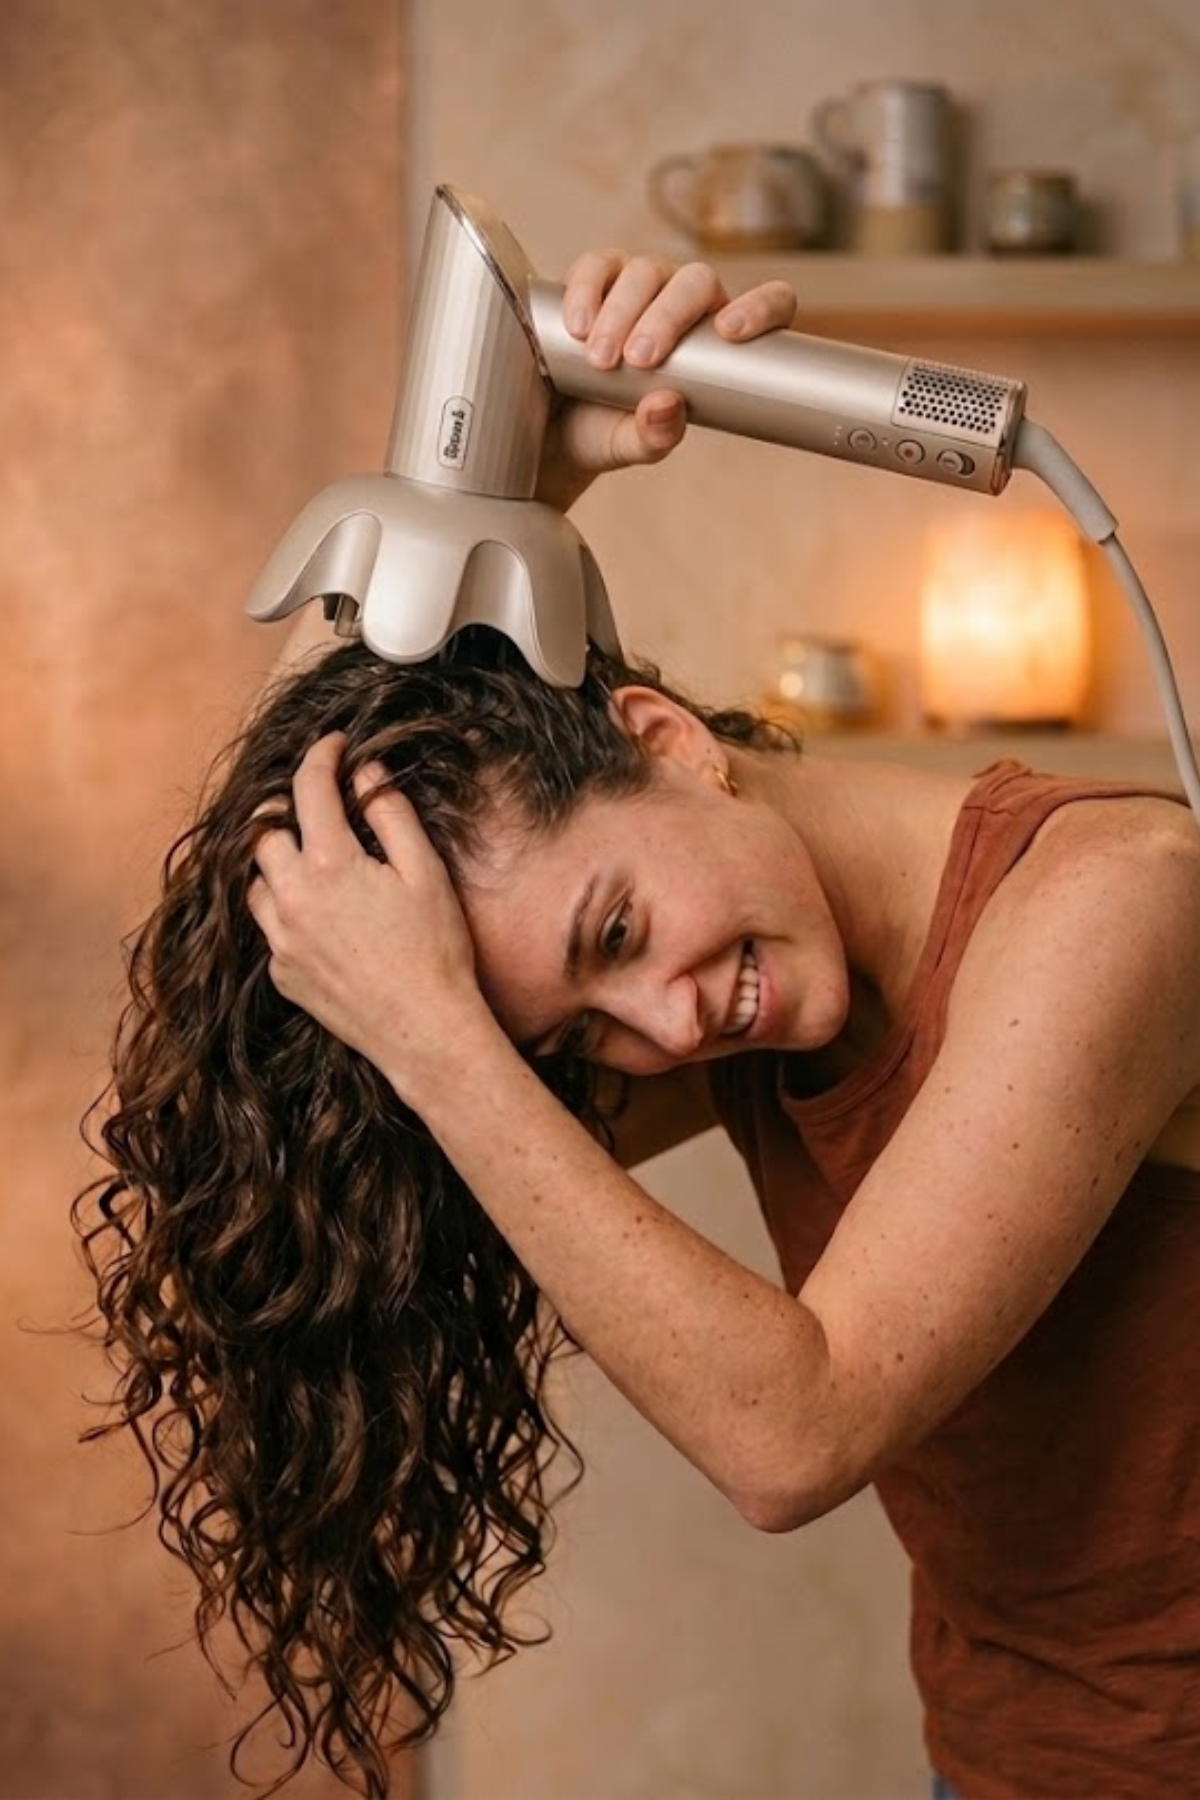
Source: Pinterest
Who It’s For:
- Curly or frizz-prone hair
- Flat roots that need lift
Why It Works:
A diffuser builds volume at the crown while keeping your natural curl pattern intact.
Step-by-Step:
Apply mousse evenly (focus on roots).
Flip your head upside down.
Place sections of hair into the diffuser.
Dry the roots first, then move to the ends.
Scrunch gently as you go.
Pro Tip
Keep the airflow low to avoid frizz. Don’t fully dry; leave a tiny bit of moisture for softness. Finish with dry shampoo at the crown for extra lift.
Method 3: Flat Iron Waves for Piece-y Texture
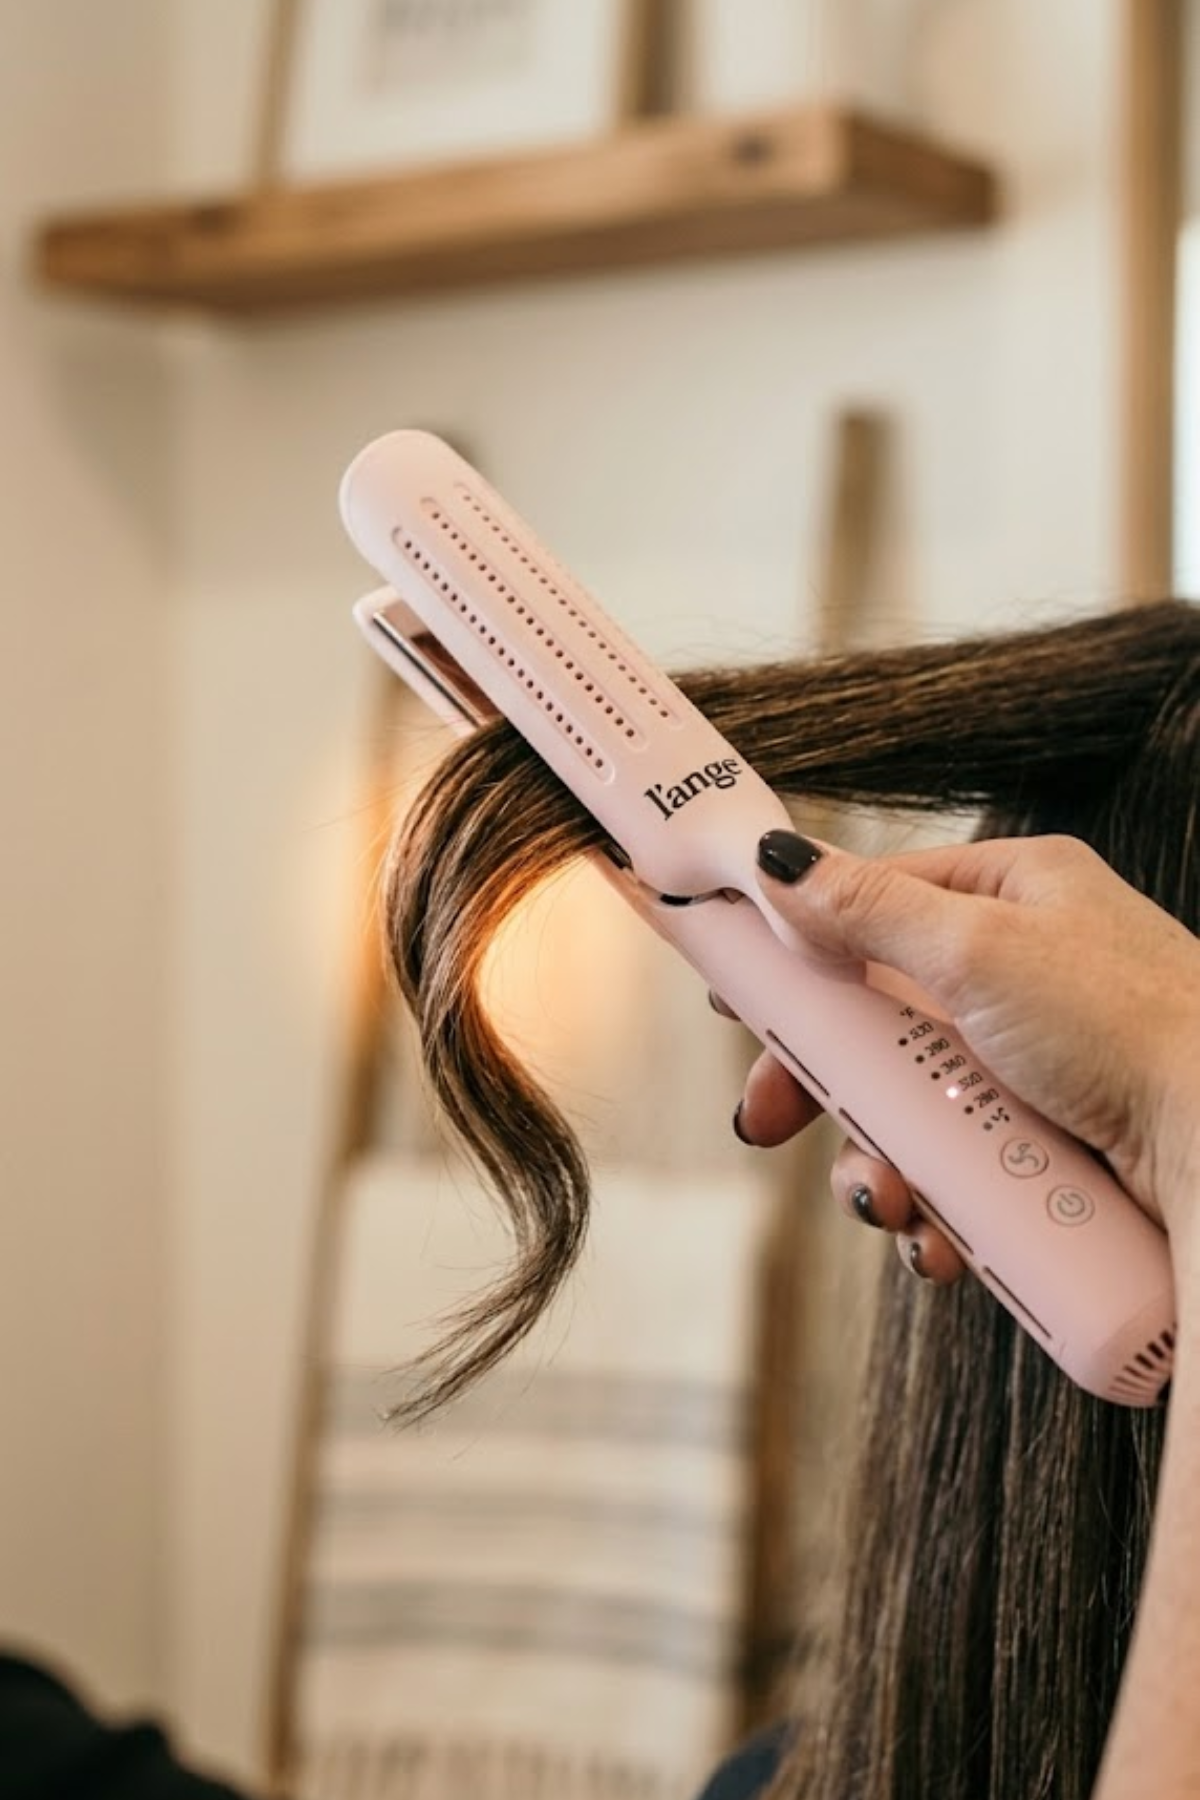
Source: Pinterest
Who It’s For:
- Straight or limp hair
- Layers that look flat or undefined
Why It Works:
Instead of curls, this creates soft bends that make layers stand out.
Step-by-Step:
Work on fully dry hair.
Take small sections.
Clamp the flat iron and slightly bend the hair (not curl).
Alternate directions for a natural finish.
Leave the ends slightly straight.
Pro Tip
Don’t curl from the roots; focus on mid-lengths. Keep it imperfect (that’s the shag look). Break up the waves with your fingers, not a brush.
Method 4: Blow-Dry + Round Brush (For a Polished Shag)
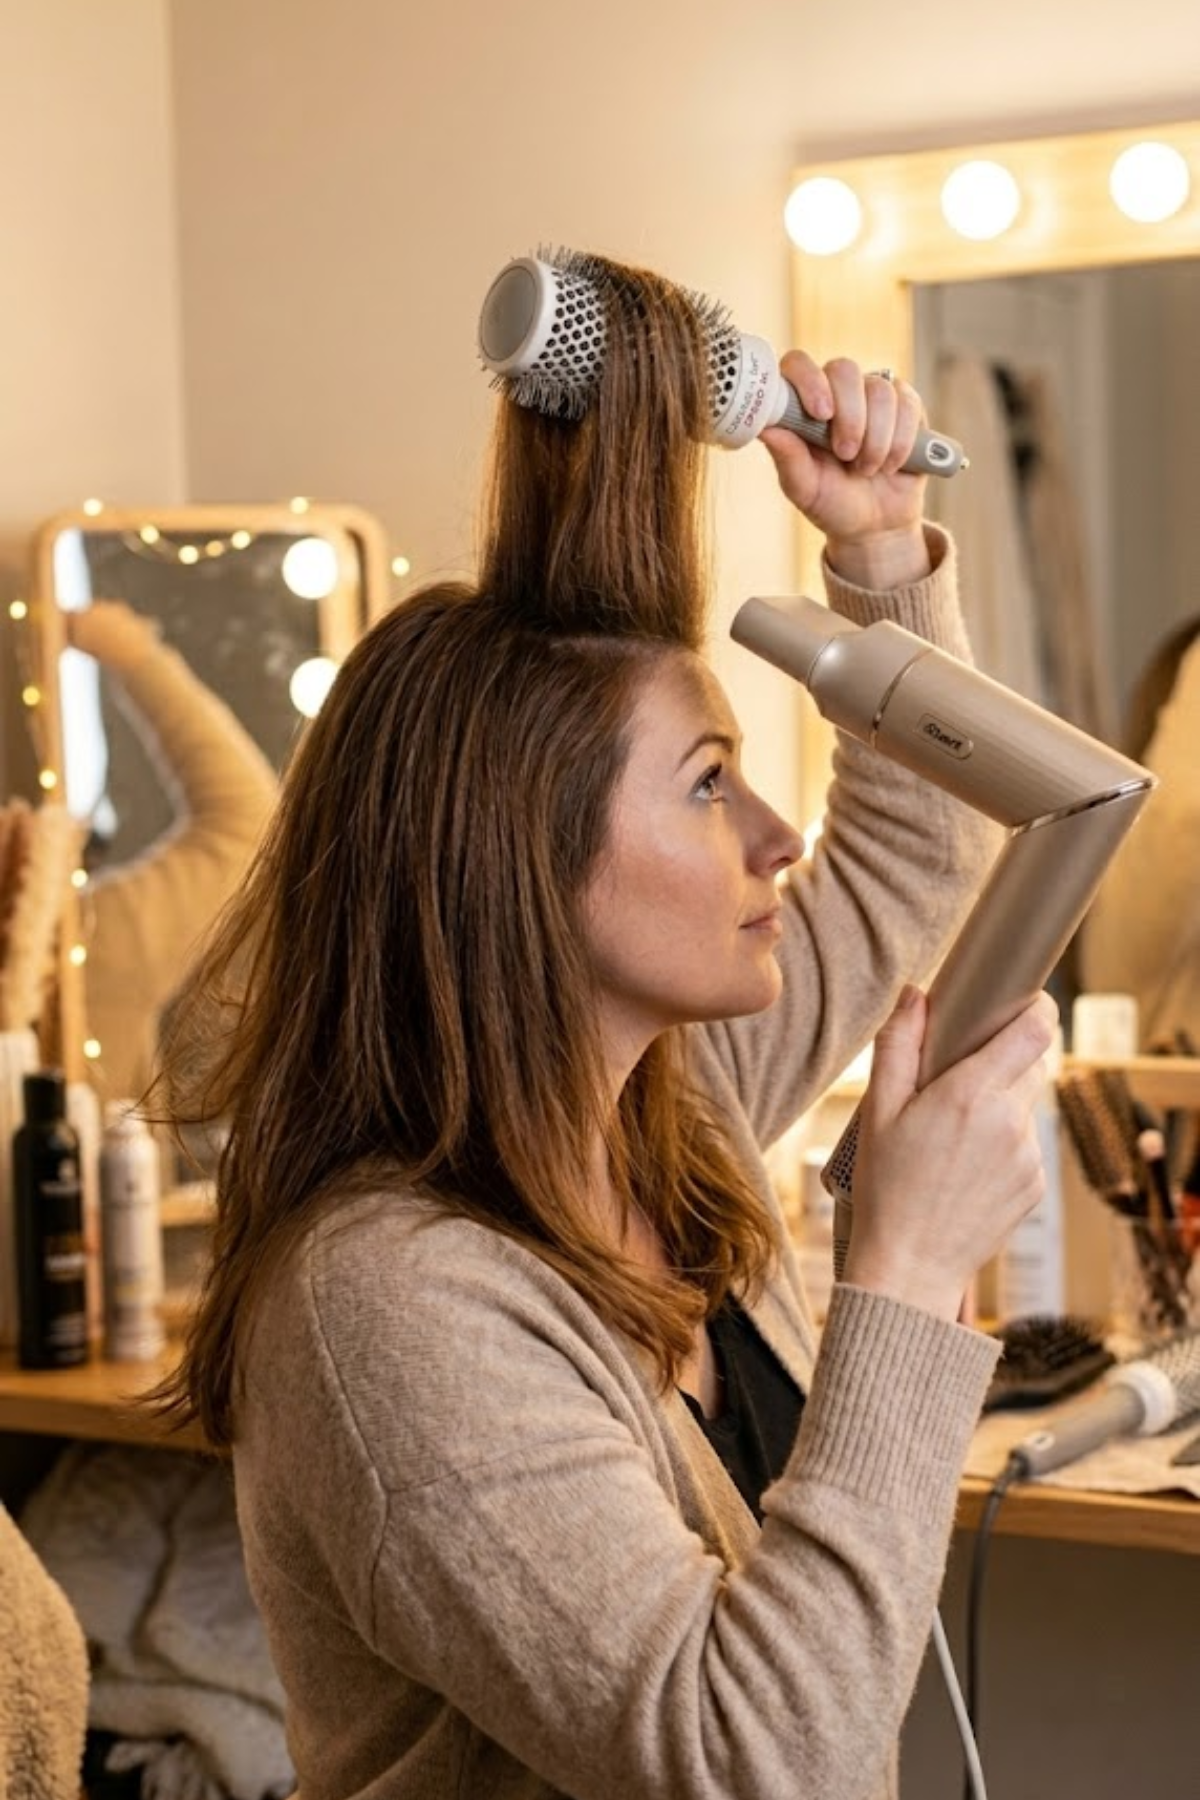
Source: Pinterest
Who It’s For:
- Medium-length shags
- Women over 50
- Anyone wanting a softer, more controlled finish
Why It Works:
This method gives you volume + shape without losing movement.
Step-by-Step:
Section your hair (focus on crown + front).
Use a round brush to lift the roots upward.
Blow-dry bangs away from the face.
Slightly flick the ends outward.
Finish with a light texturizing spray.
Pro Tip
Don’t over-smooth the layers. Focus on the top and front, not the entire head. Keep movement in the ends.
Method 5: 5-Minute Lazy Day Shag Routine (Real-Life Saver)
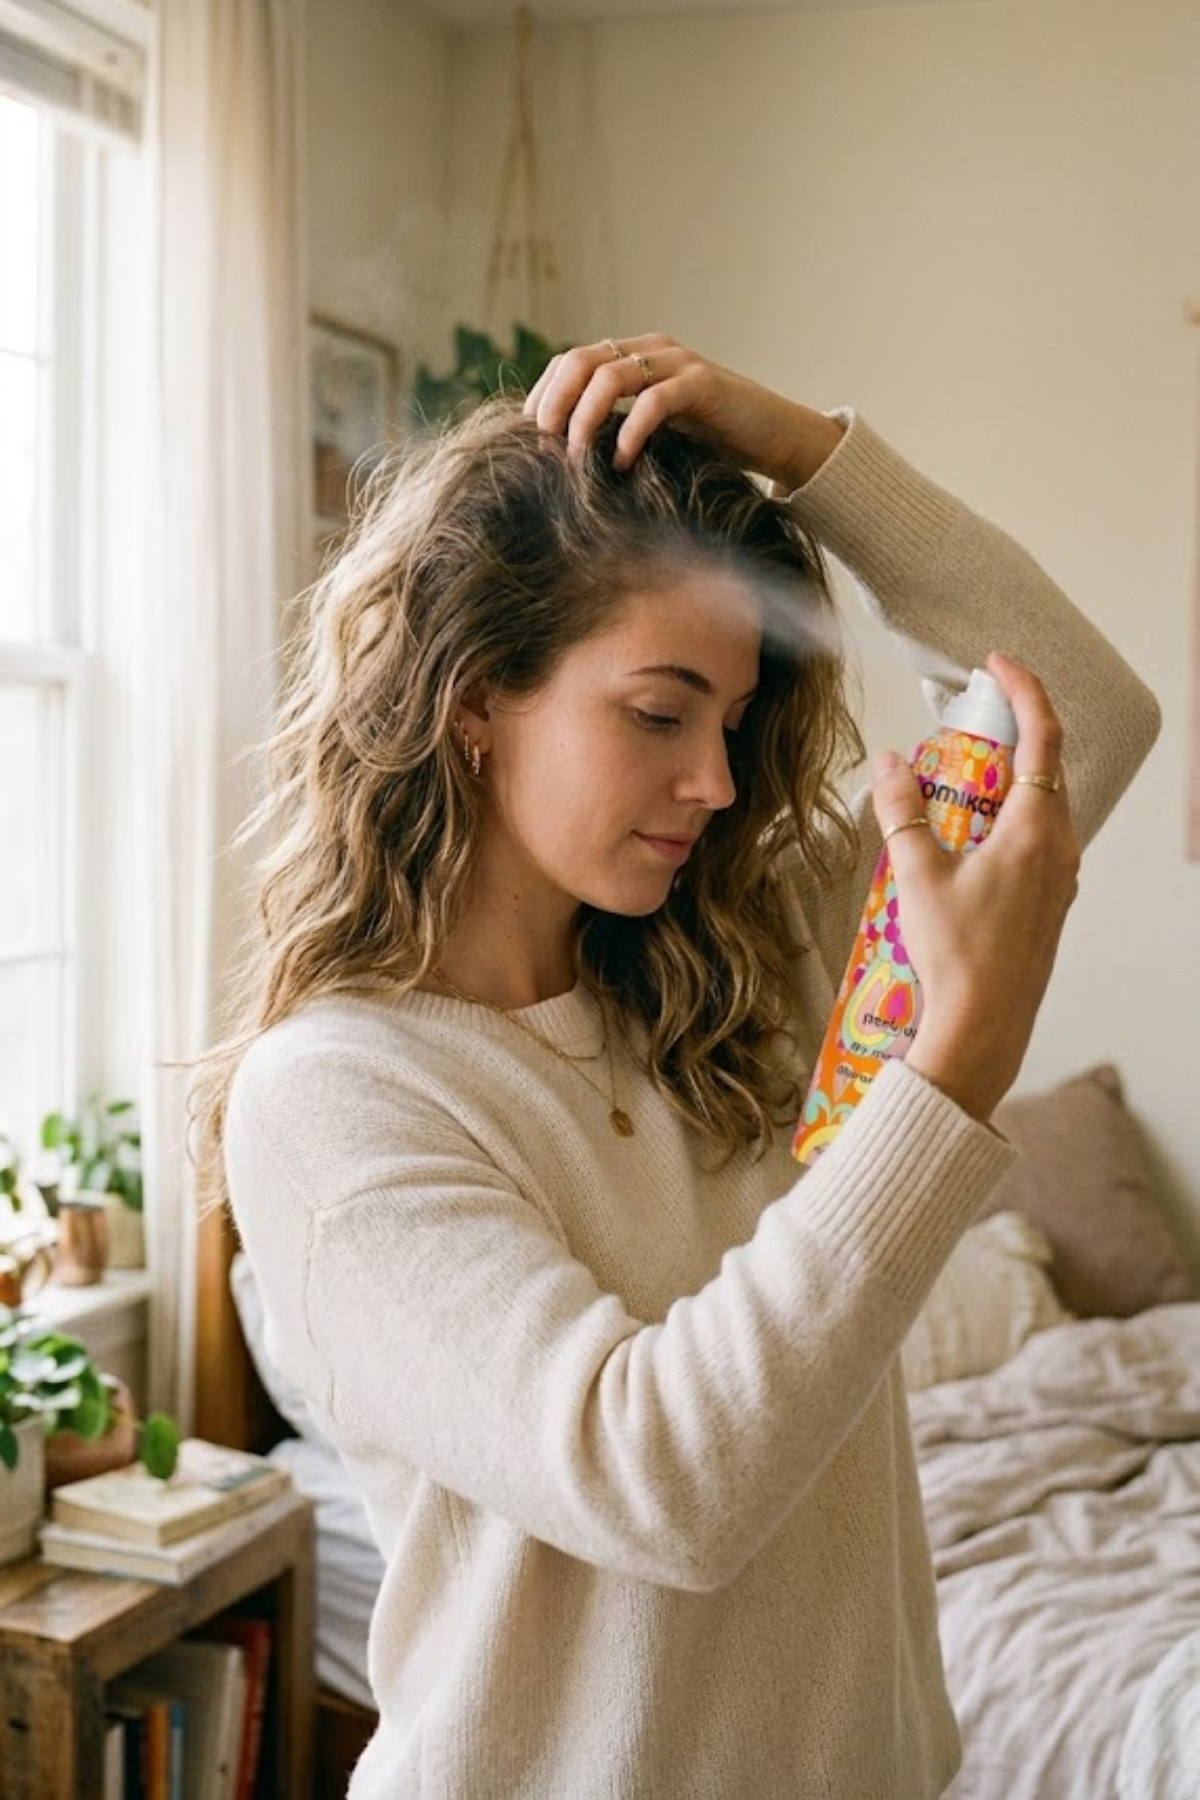
Source: Pinterest
This Is the One Most People Actually Need:
Who It’s For:
- Second-day (or third-day) hair
- Busy mornings
- Quick refresh without washing
Step-by-Step:
Spray dry shampoo at the roots.
Flip your head upside down and massage it in.
Scrunch your mid-lengths with your hands.
Add a light texturizing spray.
Quickly touch up bangs (with a round brush or flat iron).
Pro Tip
Focus only on the crown + fringe (biggest impact areas). Don’t restyle everything, just refresh the shape. Less product = better results.
Customize Your Shag Styling Based on Your Hair Type
A shag haircut only looks good when it’s styled for your specific hair type.
What works for thick, wavy hair will completely fall flat on fine, straight hair, and vice versa.
This is exactly how I adjust shag styling for different clients in the salon.
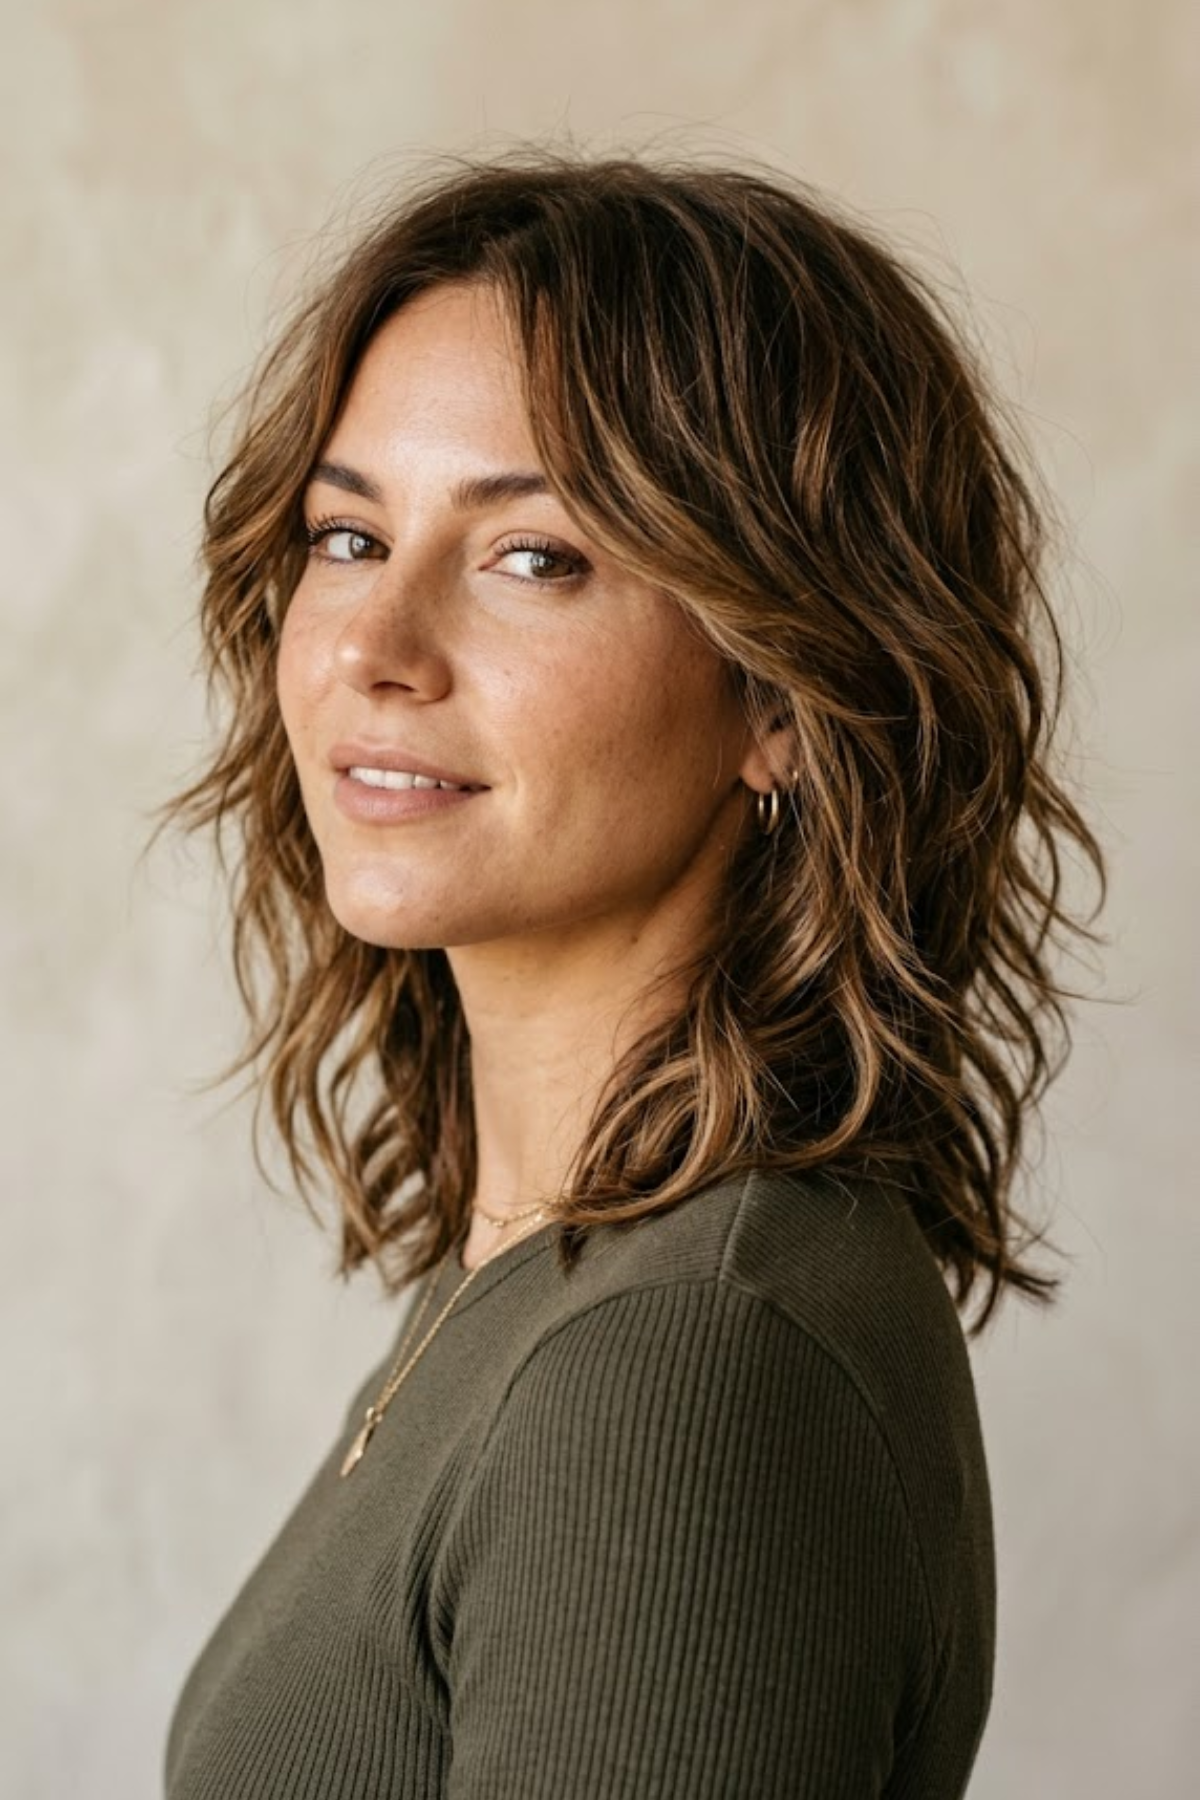
How to Style Medium Shaggy Hair with Layers
Source: Pinterest
Medium-length shags are the most versatile, but they can easily look flat if not styled right.
What to focus on:
Volume at the crown
Separation through the mid-lengths
How to style:
Use mousse at the roots before blow-drying
Add soft bends with a flat iron (not full curls)
Finish with texturizing spray to break up layers
How to Style Short Shaggy Layers with Thin Hair

Source: Pinterest
This is where most people struggle.
Fine hair + short layers can collapse fast if you use the wrong products.
What to focus on:
Lightweight volume
Avoiding product buildup
How to style:
Apply a small amount of mousse to the roots
Blow-dry with your head flipped upside down
Use dry shampoo at the crown for instant lift
Add minimal texturizing spray (very light hand)
👉 Short shag haircuts that instantly add messy texture and that effortlessly cool, lived-in vibe.
| Trendy Haircuts That Are Easy to Love |
|---|
| Looking for fresh haircut inspiration that’s stylish yet simple to maintain? These guides feature effortless cuts, textured shags, and spring-ready styles that work beautifully for every vibe: From carefree layers to chic spring transformations, these haircut ideas are perfect for anyone wanting a stylish look without the extra fuss. |
How to Style a Shag Haircut Over 50
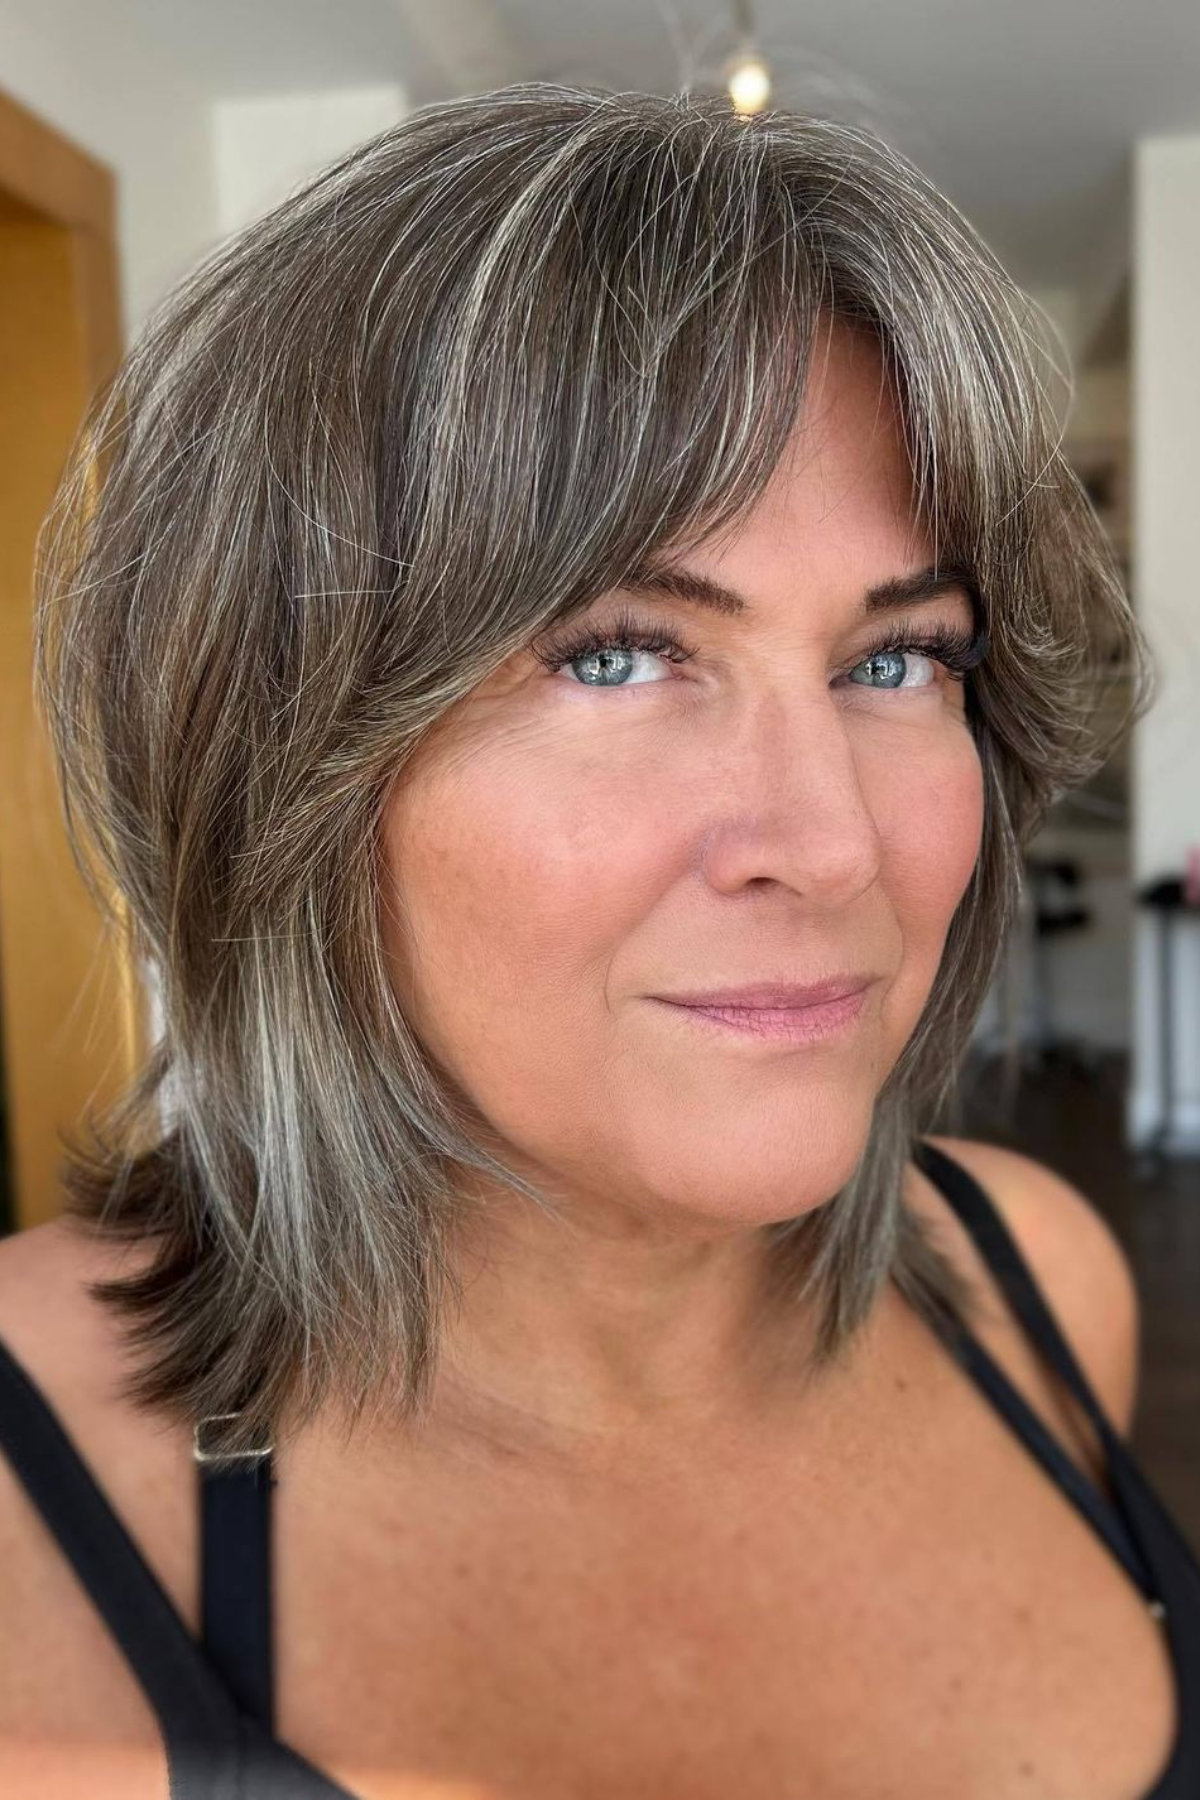
Source: Pinterest
The goal here is soft volume and movement, not stiffness or heaviness.
What to focus on:
Lift at the crown
Soft shaping around the face
How to style:
Use a round brush to lift roots while blow-drying
Gently flick the ends outward
Keep layers soft, not overly textured
👉 Short hair, does it really age you or make you look instantly younger?
How to Style Curly vs Straight Shag Hair
These need completely different approaches.
For Curly Shag Hair
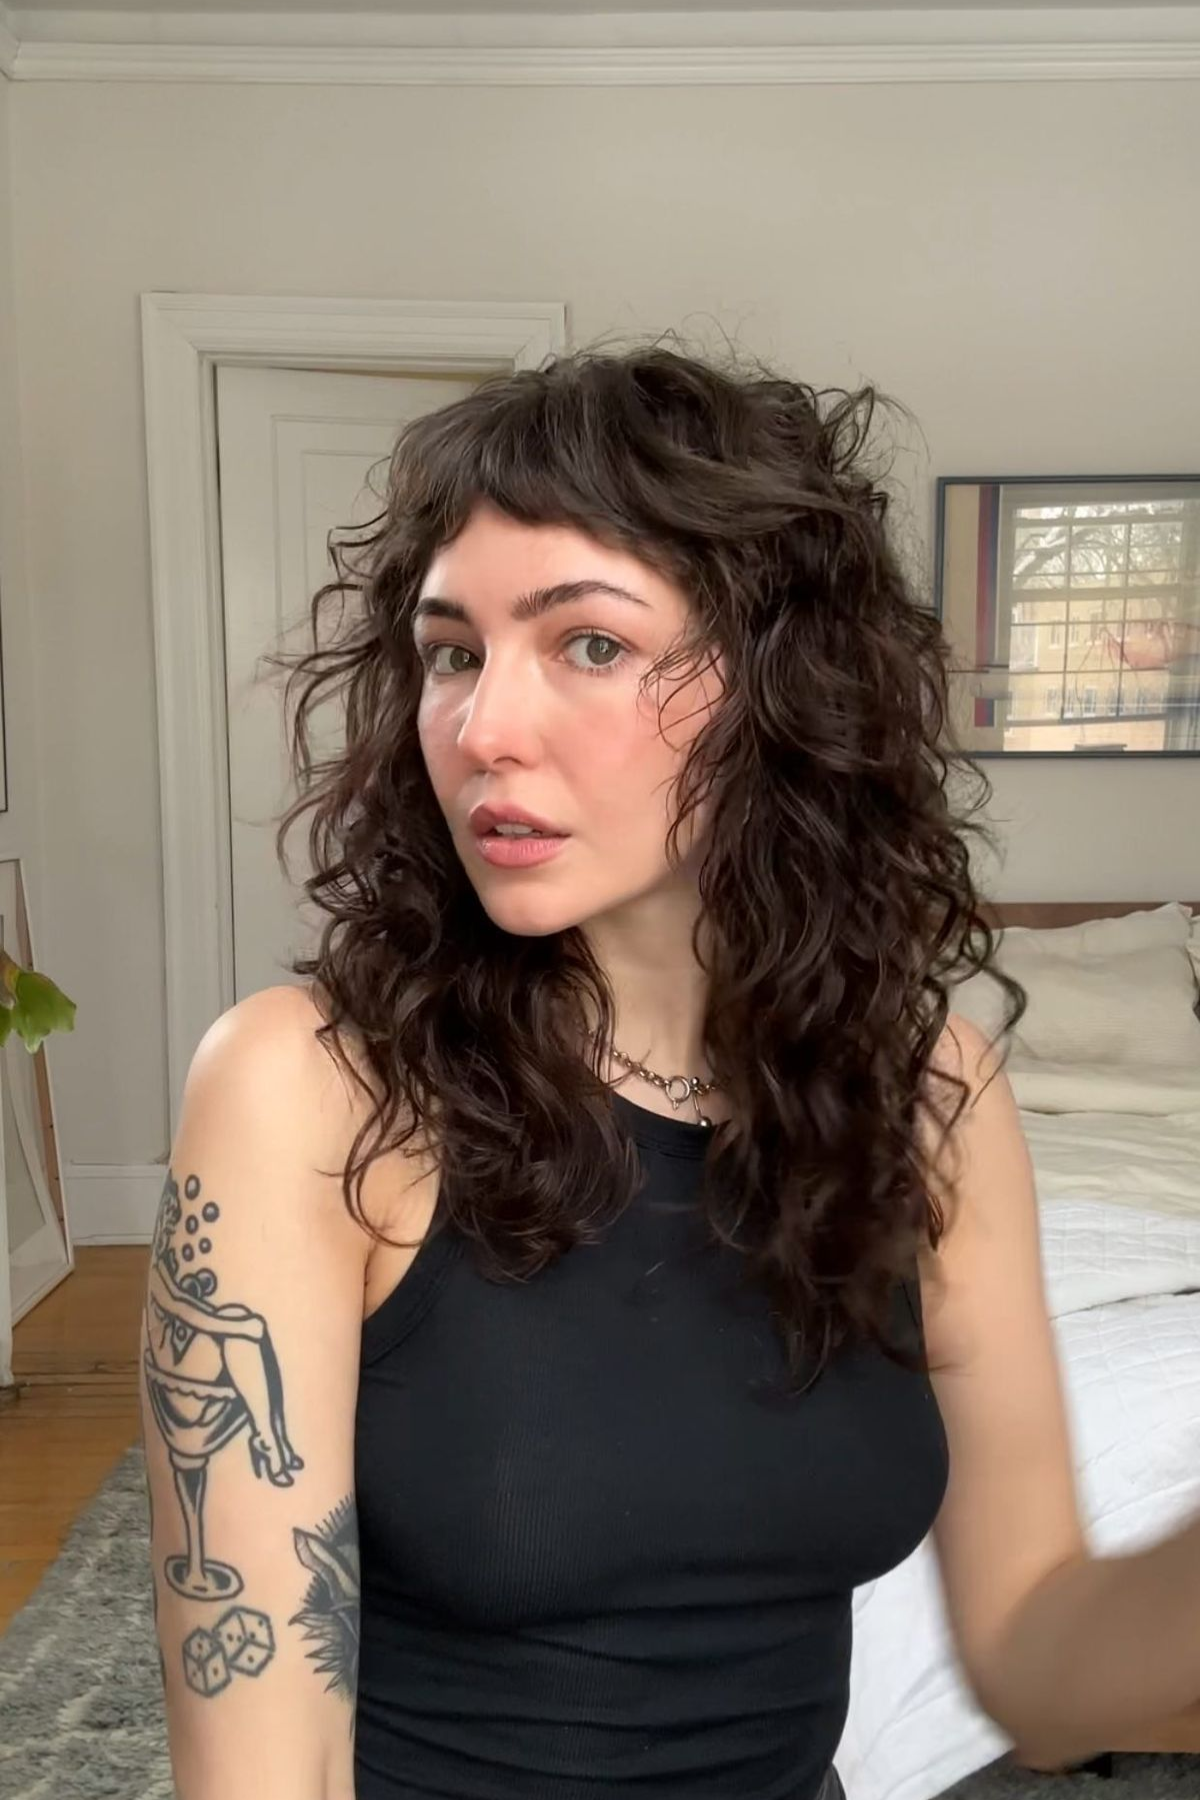
Source: Pinterest
Focus on:
Enhancing natural curl pattern
How to style:
Use mousse or curl cream (lightweight)
Diffuse with your head upside down
Scrunch while drying
For Straight Shag Hair

Source: Pinterest
Focus on:
Creating artificial texture
Adding movement
How to style:
Use a flat iron to create soft bends
Add texturizing spray for separation
Avoid over-brushing
Style Your Shag Bangs the Right Way (Curtain vs Choppy)
Source: Pinterest
If your shag still doesn’t look right after styling, check your bangs first.
Bangs are the focal point of a shag haircut. They frame your face and tie the whole look together.
Curtain Bangs (Soft, Face-Framing Look)
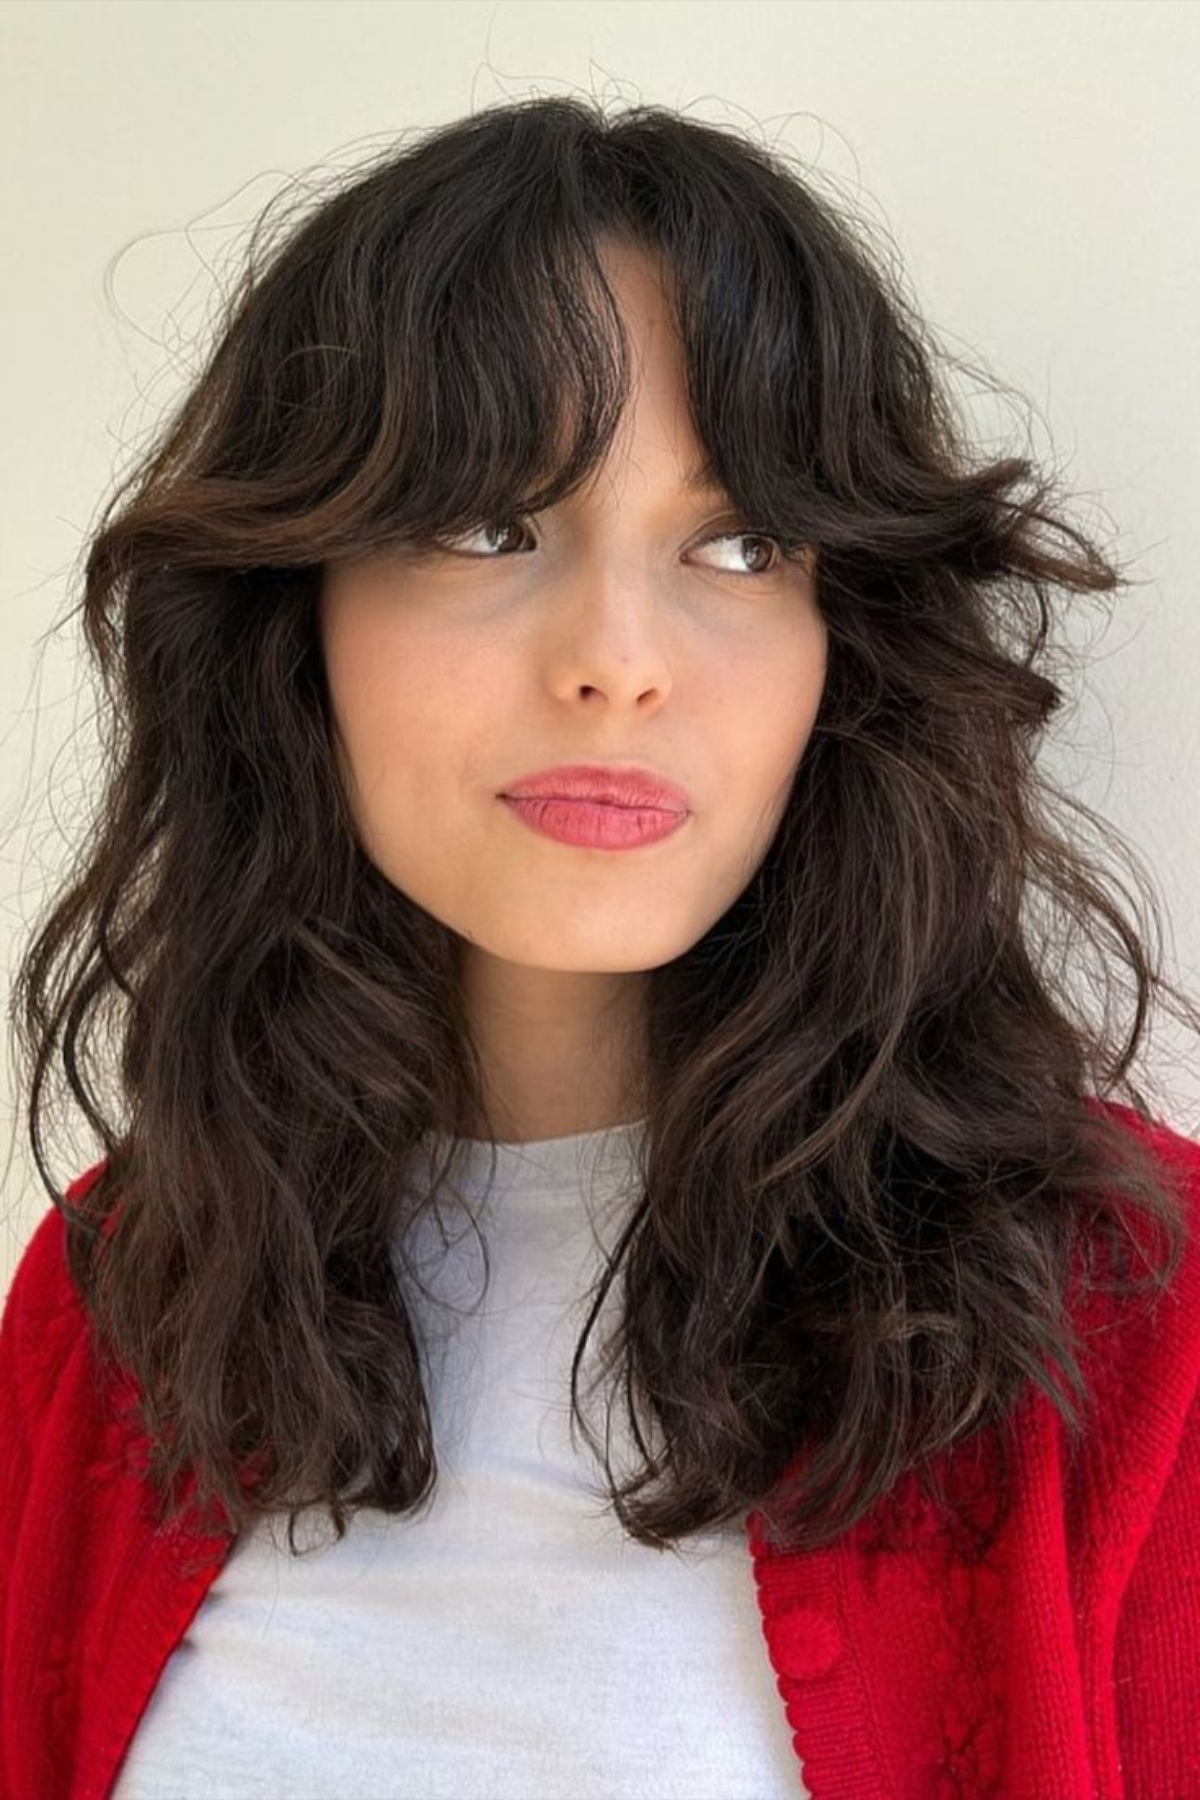
Source: Pinterest
These are the most common in shag haircuts, and they need movement, not perfection.
How to style curtain bangs:
Use a round brush + blow dryer.
Roll the bangs away from your face (not straight down).
Focus on lifting slightly at the roots.
Let them fall naturally into that soft “curtain” shape.
👉 Styling tricks that give your curtain bangs that soft, face-framing swoop every time.
Pro Tip
Don’t over-direct them too far back; they’ll lose that face-framing effect. Keep them slightly separated, not blended into one piece. Use a tiny bit of texturizing spray for a soft finish.
Choppy Bangs (Edgy, Textured Look)
Source: Pinterest
These are more defined and need piece-y separation to stand out.
How to style choppy bangs:
Use a flat iron.
Lightly flick random sections in different directions.
Avoid making them too uniform.
Break them up using your fingers (not a brush).
👉 Find the bangs that perfectly frame your face and instantly elevate your entire look.
Pro Tips
Keep the ends slightly uneven, that’s what gives them character. Add a light texturizing spray for definition.
Fix Common Shag Haircut Styling Mistakes
Source: Pinterest
If your shag isn’t looking right, it usually comes down to a few small styling mistakes. The good news? They’re easy to fix once you know what to adjust.
Mistake 1: Your Shag Looks Flat
Flat hair usually means there’s no volume at the crown or too much product weighing it down.
To fix it, apply mousse or dry shampoo at the roots and flip your head upside down while drying. Focus on lifting the top section first, that’s what gives your shag its shape. The crown is everything; if it’s flat, the whole haircut falls flat.”
Mistake 2: It Looks Frizzy Instead of Textured
Frizz happens when there’s no control or the wrong products are used.
Switch to a lightweight mousse and texturizing spray, and avoid touching your hair while it dries. Scrunch instead of brushing to keep the texture defined.
Mistake 3: Your Layers Don’t Show
If your layers disappear, you’re likely over-brushing or blending everything together.
Use your fingers instead of a brush, add slight bends, and finish with texturizing spray to separate the layers.
Mistake 4: Your Hair Looks Too “Done”
A shag shouldn’t look perfect. Over-styling makes it stiff and heavy.
Loosen your hair with your fingers, leave a few pieces imperfect, and use less product overall.
Compare the Best Ways to Style a Shag Haircut at Home
| Method | Best For | Time Needed | Result |
|---|---|---|---|
| Air Dry | Wavy / slightly curly hair | 5–10 min | Natural, effortless texture |
| Diffuser | Curly/frizzy hair | 10–15 min | Volume + defined curls |
| Flat Iron | Straight/flat hair | 10 min | Piece-y, lived-in layers |
| Blow Dry | Medium length / over 50 | 15 min | Soft, polished volume |
| 5-Min Routine | Busy days/refresh styling | 3–5 min | Quick lift + revived shape |
FAQs: Styling a Shag Haircut
How do you style a shag haircut at home?
To style a shag haircut at home, start by applying a lightweight mousse at the roots to build volume. Then choose a styling method based on your hair type. Air drying works well for natural texture, diffusing adds volume and definition, and flat iron bends help create movement in straight hair. The key is to focus on lifting the crown and defining the layers rather than smoothing everything down. Finish with a light texturizing spray to create separation and that effortless, lived-in look.
Can I air-dry a shag haircut?
Yes, air drying is actually one of the easiest and most effective ways to style a shag haircut, especially if you have natural waves or slight texture. Simply scrunch mousse into damp hair, twist a few sections to encourage shape, and let it dry without touching it too much. This helps reduce frizz and enhances your natural movement, giving you that relaxed, undone shag finish.
What products are best for a shag haircut?
The best products for a shag haircut are lightweight and designed to enhance texture without weighing the hair down. Mousse is great for adding volume at the roots, while texturizing spray helps create separation and definition through the layers. Dry shampoo can also be used, even on clean hair, to lift the crown area. If you’re using heat tools, a heat protectant is essential. It’s best to avoid heavy oils or thick creams, as they can flatten the layers and reduce movement.
How do I add volume to my shag haircut?
To add volume to a shag haircut, focus on the roots, especially at the crown. Apply mousse or dry shampoo at the roots, then flip your head upside down while blow-drying or diffusing to create lift. Styling the top section first makes a big difference, as that’s what gives the shag its shape. Keeping products lightweight also helps maintain volume throughout the day.
Why does my shag haircut look flat?
A shag haircut usually looks flat when there’s not enough volume at the roots, or when heavy products are weighing the hair down. Over-smoothing the layers with a brush or heat tools can also remove the texture that makes a shag stand out. To fix this, switch to lighter products, focus on lifting the crown during styling, and use your fingers instead of a brush to maintain separation.
What’s the difference between layers and a shag haircut?
The main difference between layers and a shag haircut is how the hair is structured and styled. Regular layers are blended to create a smooth, polished finish, while a shag haircut uses more choppy, textured layers to create movement and volume. A shag is meant to look slightly messy and effortless, whereas traditional layers are designed to look sleek and controlled.
Final Word from Haiirology
Now that you know how to style a shag haircut at home, the biggest shift is this:
Stop trying to make it look perfect and start focusing on texture, movement, and volume.
A shag haircut comes to life when you:
Keep your products lightweight
Build volume at the crown
Let your layers stay slightly undone and natural
If your shag has been falling flat or looking messy instead of intentional, it’s almost always a styling issue, not the haircut itself. Small changes in your routine can completely transform how your layers sit and move.
Start with one method from this guide and make it your go-to routine.
Once you find what works for your hair type, styling your shag becomes quick, easy, and something you actually enjoy.
Bookmark this post for future reference!


Learn how to style a shag haircut at home with easy, hairstylist-approved methods for volume, texture, and defined layers that don’t fall flat.