How to Fix Damaged Hair in 3 Steps
This post may contain affiliate links, which means I'll receive a commission if you purchase through the link at no extra cost to you. Please read the full disclosure here.
TL;DR
If you are wondering how to fix damaged hair, the most effective at home routine includes a weekly bond repair treatment like Olaplex No.3 or Garnier Hair Filler to rebuild internal strength, followed by deep conditioning with a hydrating mask such as Dove 10 in 1 or Olaplex No.8. Seal in moisture daily with a lightweight oil like Olaplex No.7 to protect your ends and reduce frizz. Avoid brushing wet hair, skip tight hairstyles, and limit heat styling to prevent further breakage. With consistent care and the right products, you can repair damaged hair at home with no salon visit required.
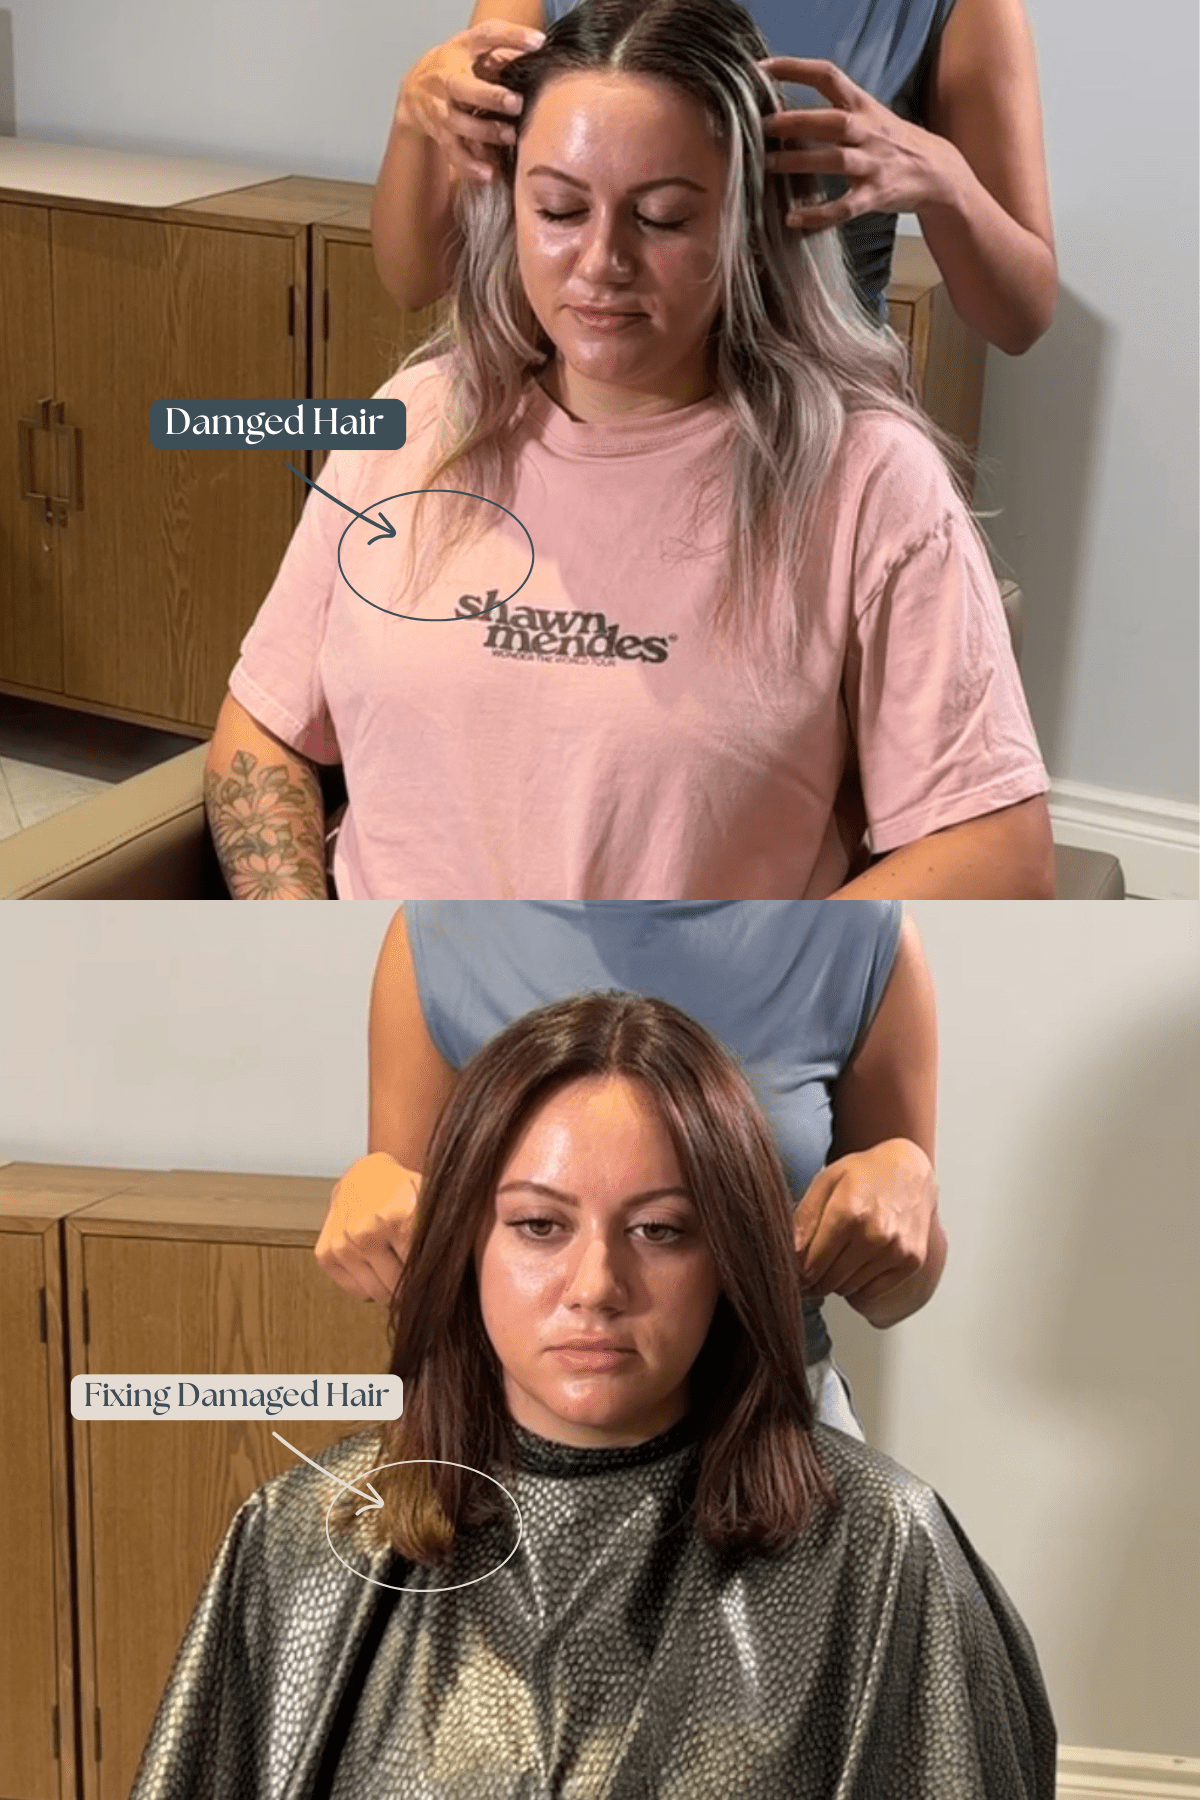
Damaged hair doesn’t just “feel dry"; it tangles every time you touch it, the ends look fried, and no matter how much conditioner you use, it still feels rough or gummy when wet.
Whether your hair’s been through bleach, flat irons, tight buns, or just years of doing “the most,” the damage adds up.
As a hairstylist with over 10 years behind the chair, I’ve helped hundreds of clients repair their hair at home, even when it looked and felt beyond saving. I’m not talking about vague tips like “use coconut oil” or “just stop using heat.”
I’m giving you a full step-by-step repair routine based on what actually works in the salon and in real life. In this blog post, you’ll learn:
Which products help repair hair (and which just sit on top)
How to layer treatments, masks, and oils for real results
What bad hair habits to stop ASAP
And most importantly, how to create a weekly hair repair plan you can stick to
If you’ve been Googling how to fix damaged hair naturally, how to repair bleached hair, or how to fix it without cutting it, this guide will give you clear answers, not more confusion.
Let’s get into the tools, products, and treatments that’ll get your hair feeling strong and soft again.
Gather What You Need to Repair Damaged Hair at Home
Before we dive into the how-to part, let’s set you up with everything you’ll need. These are the exact tools and treatments I recommend to my clients when their hair feels brittle, weak, or totally fried. And yes, you can do this from home without buying 20 new things.
Hair Repair Essentials
Source: Personal Image
You don’t need a salon setup, but a few simple tools will help protect your hair and apply treatments properly:
Wide-tooth comb to detangle without snapping fragile strands
Sectioning clips makes it easier to apply masks and treatments evenly
A microfiber towel or an old cotton T-shirt, gently on wet hair, reduces frizz
Heatless styling tools, think satin scrunchies, claw clips, or a silk bonnet for bedtime
Shower cap, optional, but it helps treatments soak in deeper if you add a little heat
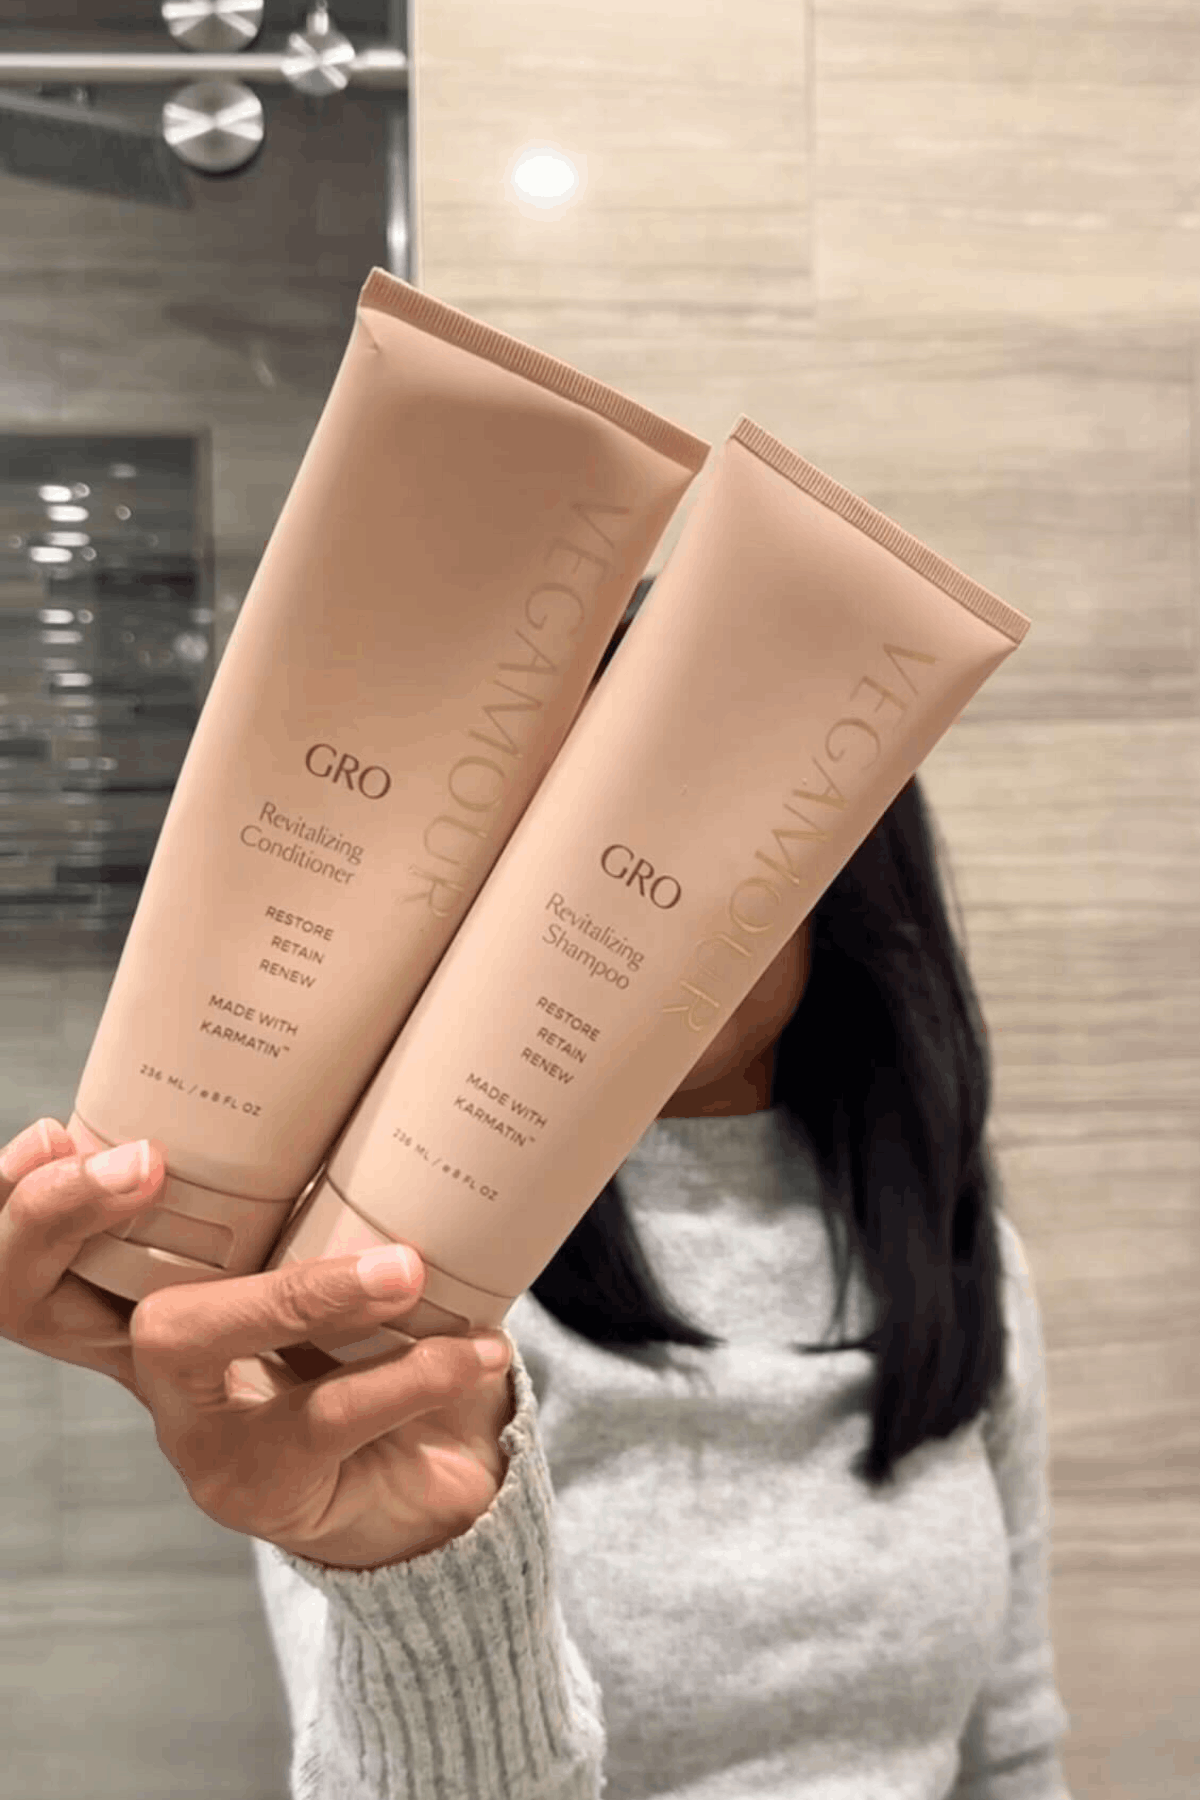
Products for Damaged Hair
| Category | Product Name | Best For | Where to Buy |
|---|---|---|---|
| Bond Repair Treatments | Olaplex No.3 Hair Perfector | Bleached, color-treated, or damaged hair | Buy Here |
| Garnier Fructis Hair Filler Bond Repair Treatment | Dry, brittle, or weakened hair (budget-friendly) | Buy Here | |
| Deep Conditioning Masks | Dove 10-in-1 Bond Strength Repair Hair Mask | Frizz, dryness, or dullness | Buy Here |
| Matrix Instacure Build-A-Bond Instant Revival Mask | Mid-lengths and ends that snap easily | Buy Here | |
| Olaplex No.8 Bond Intense Moisture Mask | Thick, dry, or damaged hair needing moisture | Buy Here | |
| Nourishing Hair Oils | Olaplex No.7 Bonding Oil | Fine to medium hair needing shine and repair | Buy Here |
| Dove 10-in-1 Bond Strength Repair Oil | Everyday nourishment and shine | Buy Here | |
| Aveda Miraculous Oil High-Shine Hair Concentrate | Dull, coarse, or frizz-prone hair | Buy Here |
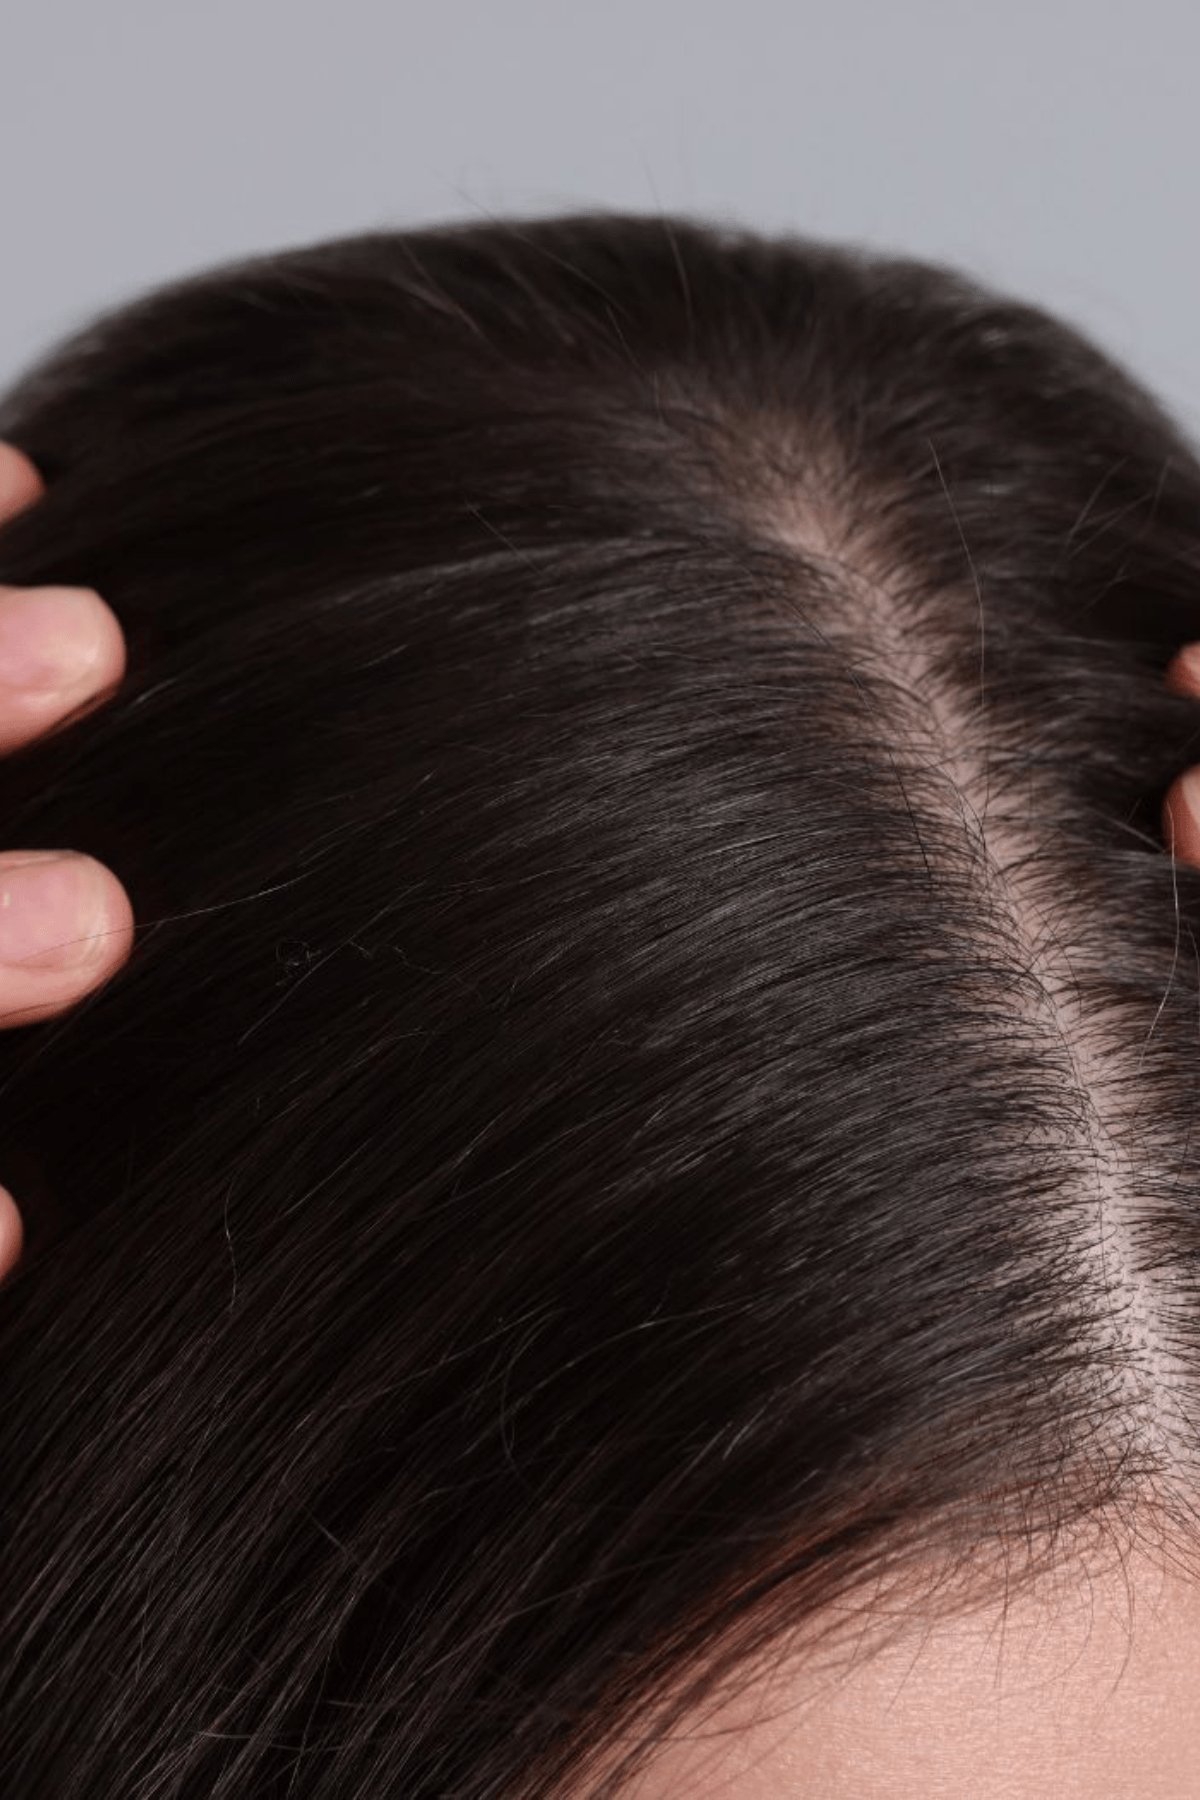
Step 1: Rebuild Internal Hair Structure with Bond Repair Treatments

Source: Personal Image
Let’s talk about the real reason your hair feels damaged: the internal structure of your strands.
Every time you bleach, color, flat iron, or chemically process your hair, the bonds that hold your hair together get weakened. These are called disulfide bonds, and when they’re broken, your hair gets mushy, stretchy, frizzy, or starts snapping for no reason. Regular conditioner can’t fix this kind of damage. You need something that works inside the hair shaft, not just on the surface.
That’s where bond repair treatments come in.
Unlike deep conditioners (which smooth and hydrate), bond builders actually reconnect broken pieces inside the strand, helping your hair regain its strength, structure, and bounce. If you’ve ever said, “My hair feels like spaghetti when it’s wet,” this is the step you’re missing.
Why Bond Repair Treatments Are Worth the Investment
Bond treatments are not cheap, but they do work. If your hair is chemically processed, over-bleached, or constantly styled with heat, this should be one of the first things you add to your routine.
When used consistently:
You’ll see less breakage and more elasticity
Hair will feel stronger, especially at the ends
You’ll notice better results from masks and oils layered afterward
Over time, hair becomes more resilient to future damage
This is how you fix damaged hair without cutting it all off.
Best Bond Repair Products
| Product | Best For | Why I Recommend It | Where to Buy |
|---|---|---|---|
| Olaplex No.3 Hair Perfector | Bleached, brittle, or heavily color-treated hair | This is the gold standard for a reason. It actually helps rebuild broken bonds and is safe to use weekly at home. I’ve seen it bring hair back from the edge. | Buy Here |
| Garnier Fructis Hair Filler Bond Repair Treatment | Dry, weak hair that’s also dehydrated | A solid alternative to Olaplex that’s more affordable and super hydrating. I love this for clients who want repair plus softness without spending extra. | Buy Here |
How to Use Bond Builders at Home
Start with damp, towel-dried hair, not soaking wet.
Apply the treatment generously, focusing on mid-lengths and ends.
Comb through gently with a wide-tooth comb for even distribution.
Leave it on for 10–30 minutes. (Longer isn’t always better, follow the label.)
Rinse thoroughly, then follow with shampoo and conditioner.
For best results, use once per week. You can alternate between Olaplex and Garnier if you’re on a budget or need more moisture some weeks.
And if you want to elevate the results, wrap your hair in a warm towel or wear a shower cap while it sits. Heat helps it penetrate better.
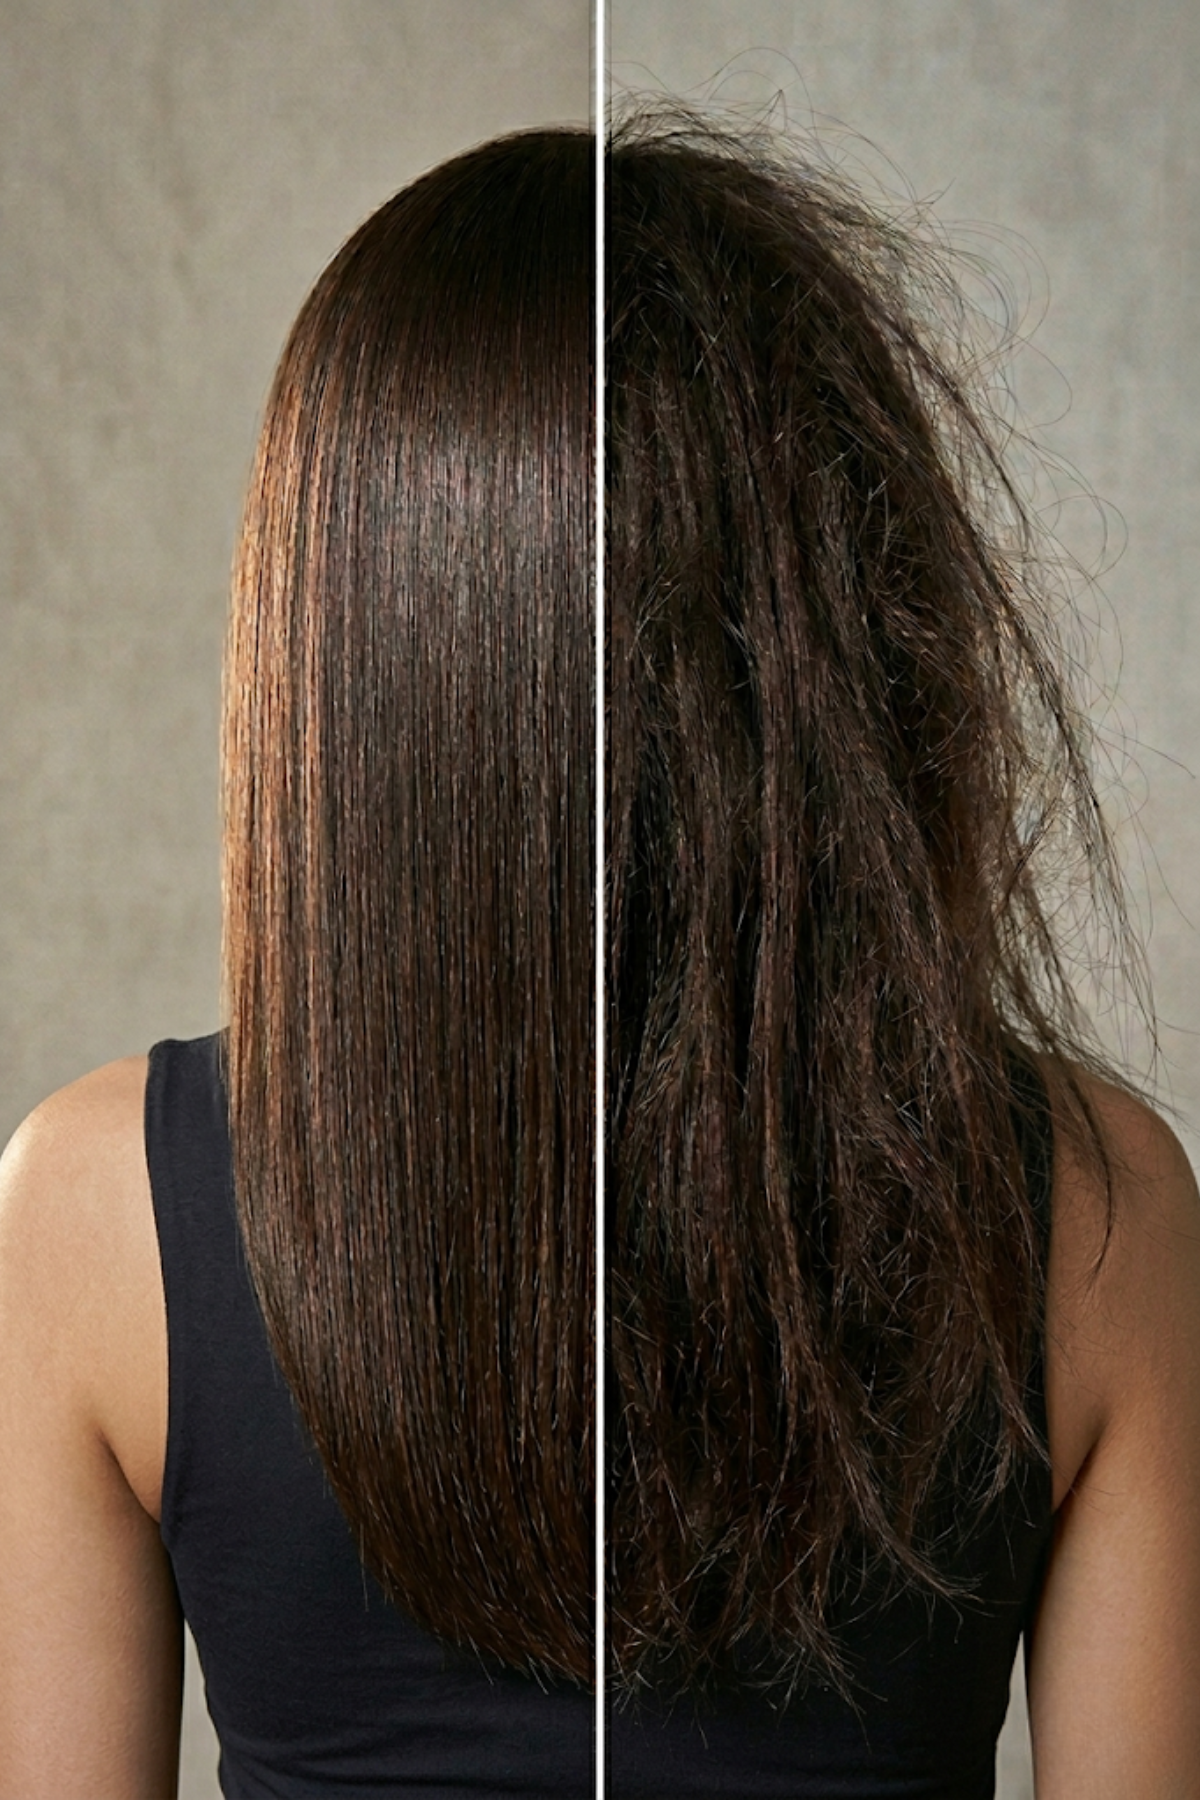
Step 2: Deep Condition Weekly to Repair Damaged Hair
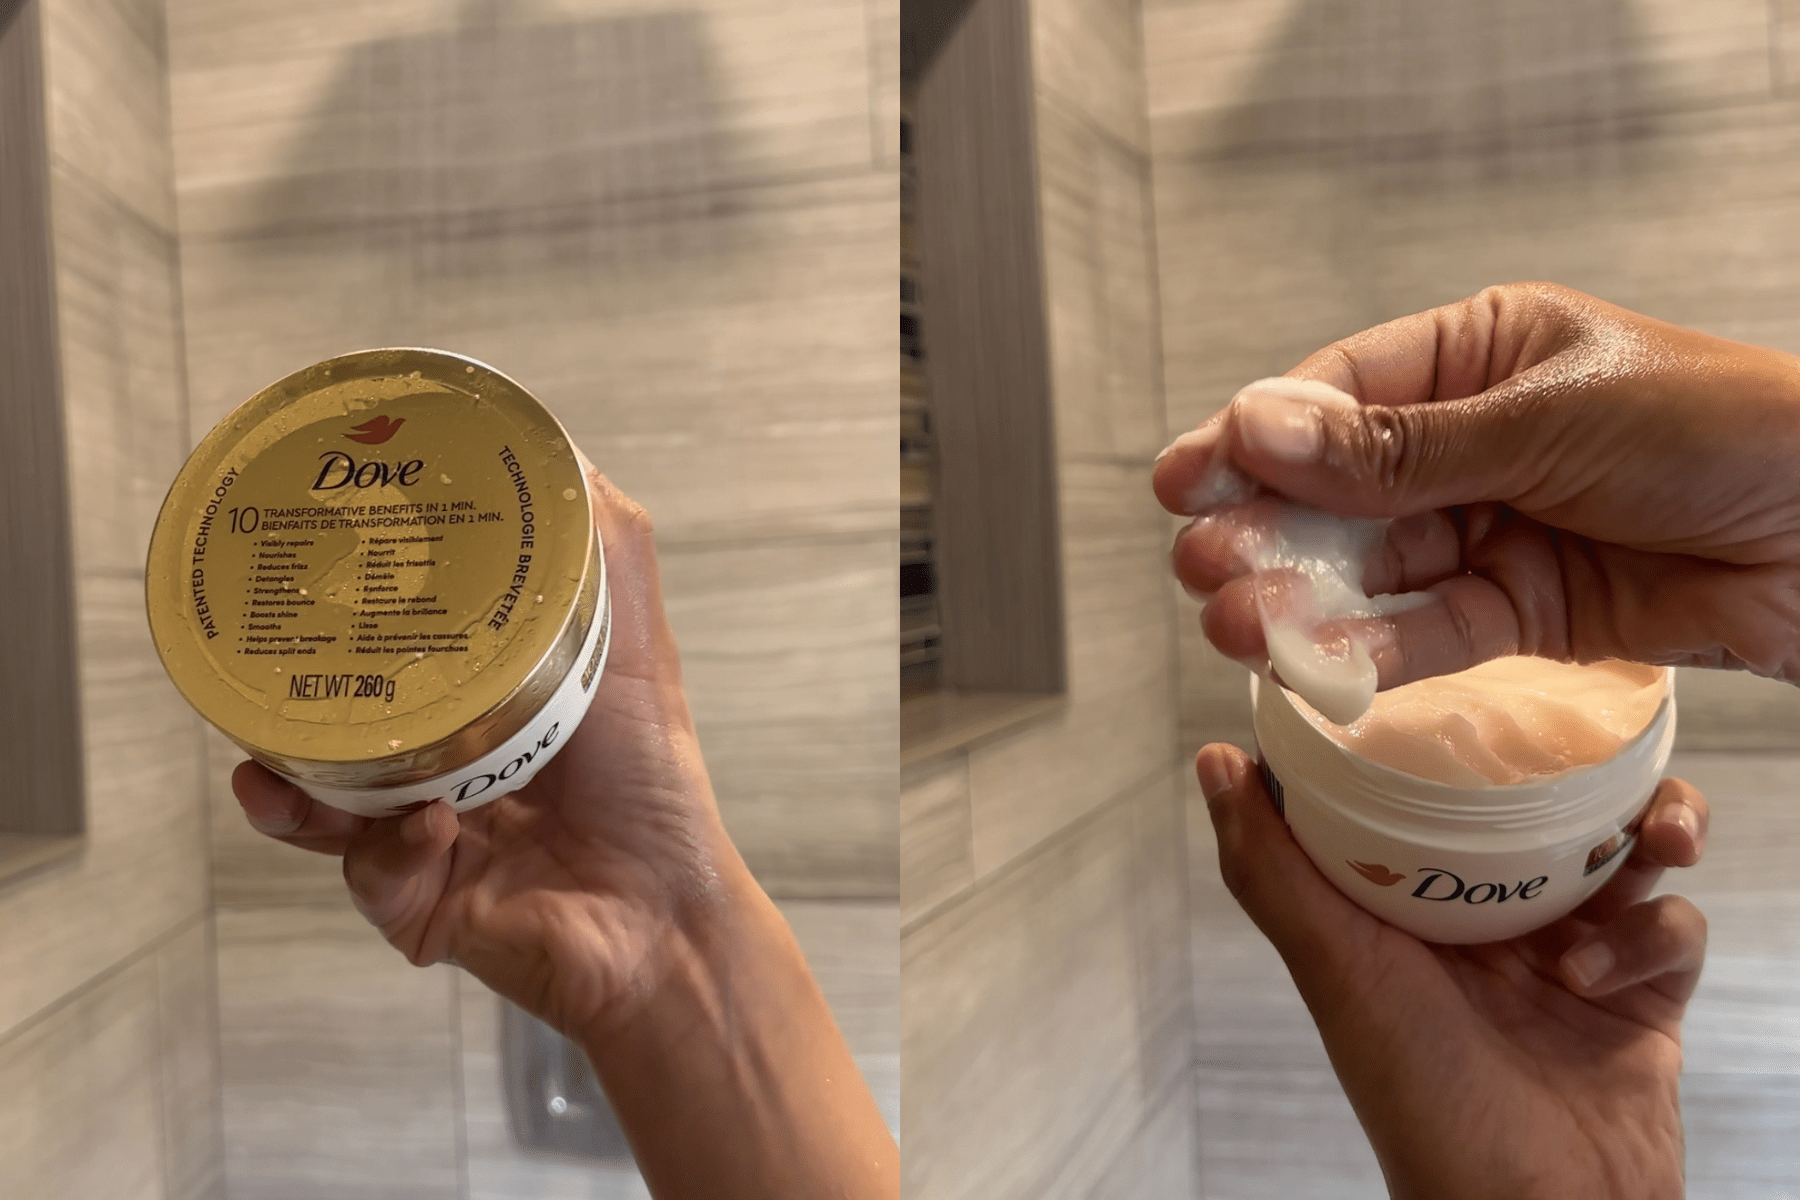
Source: Personal Image
Once you’ve rebuilt your hair’s inner structure with bond treatments, your next focus is moisture, and that’s where deep conditioning comes in.
Think of your hair like a plant. The inside might be sturdy (thanks to bond repair), but without moisture, it still looks dry and feels rough. Damaged hair often can’t hold hydration well, which is why it feels brittle, frizzy, or puffy even after you condition.
A regular rinse-out conditioner won’t cut it, so you need something more intense to replenish water, smooth the cuticle, and restore softness. That’s the job of a deep conditioning mask.
How Deep Conditioning Helps Repair Damaged Hair
It hydrates dry, porous hair so it’s more flexible and less likely to snap
It softens frizz and smooths the cuticle so hair looks shiny, not fried
It helps you retain strength by keeping your hair moisturized between bond repair days
It preps your hair for styling, making it easier to manage with less breakage
It preps your hair for styling, making it easier to manage with less breakage
Best Deep Conditioning Masks for Hair Repair
| Product | Best For | Why I Recommend It | Where to Buy |
|---|---|---|---|
| Dove 10-in-1 Bond Strength Repair Hair Mask | Frizz, dullness, lightweight hydration | Super easy to use and doesn’t weigh the hair down. I recommend this to clients with fine or medium textures. | Buy Here |
| Matrix Instacure Build-A-Bond Instant Revival Mask | Weak ends, mid-shaft breakage | Strong repair support for fragile areas. Great for chemically processed hair or after a rough coloring session. | Buy Here |
| Olaplex No.8 Bond Intense Moisture Mask | Thick, dry, or color-treated hair | This is a hydrating powerhouse that also helps with repair. Use sparingly if your hair is fine, but it’s amazing for thirsty hair. | Buy Here |
How to Use a Deep Conditioner the Right Way
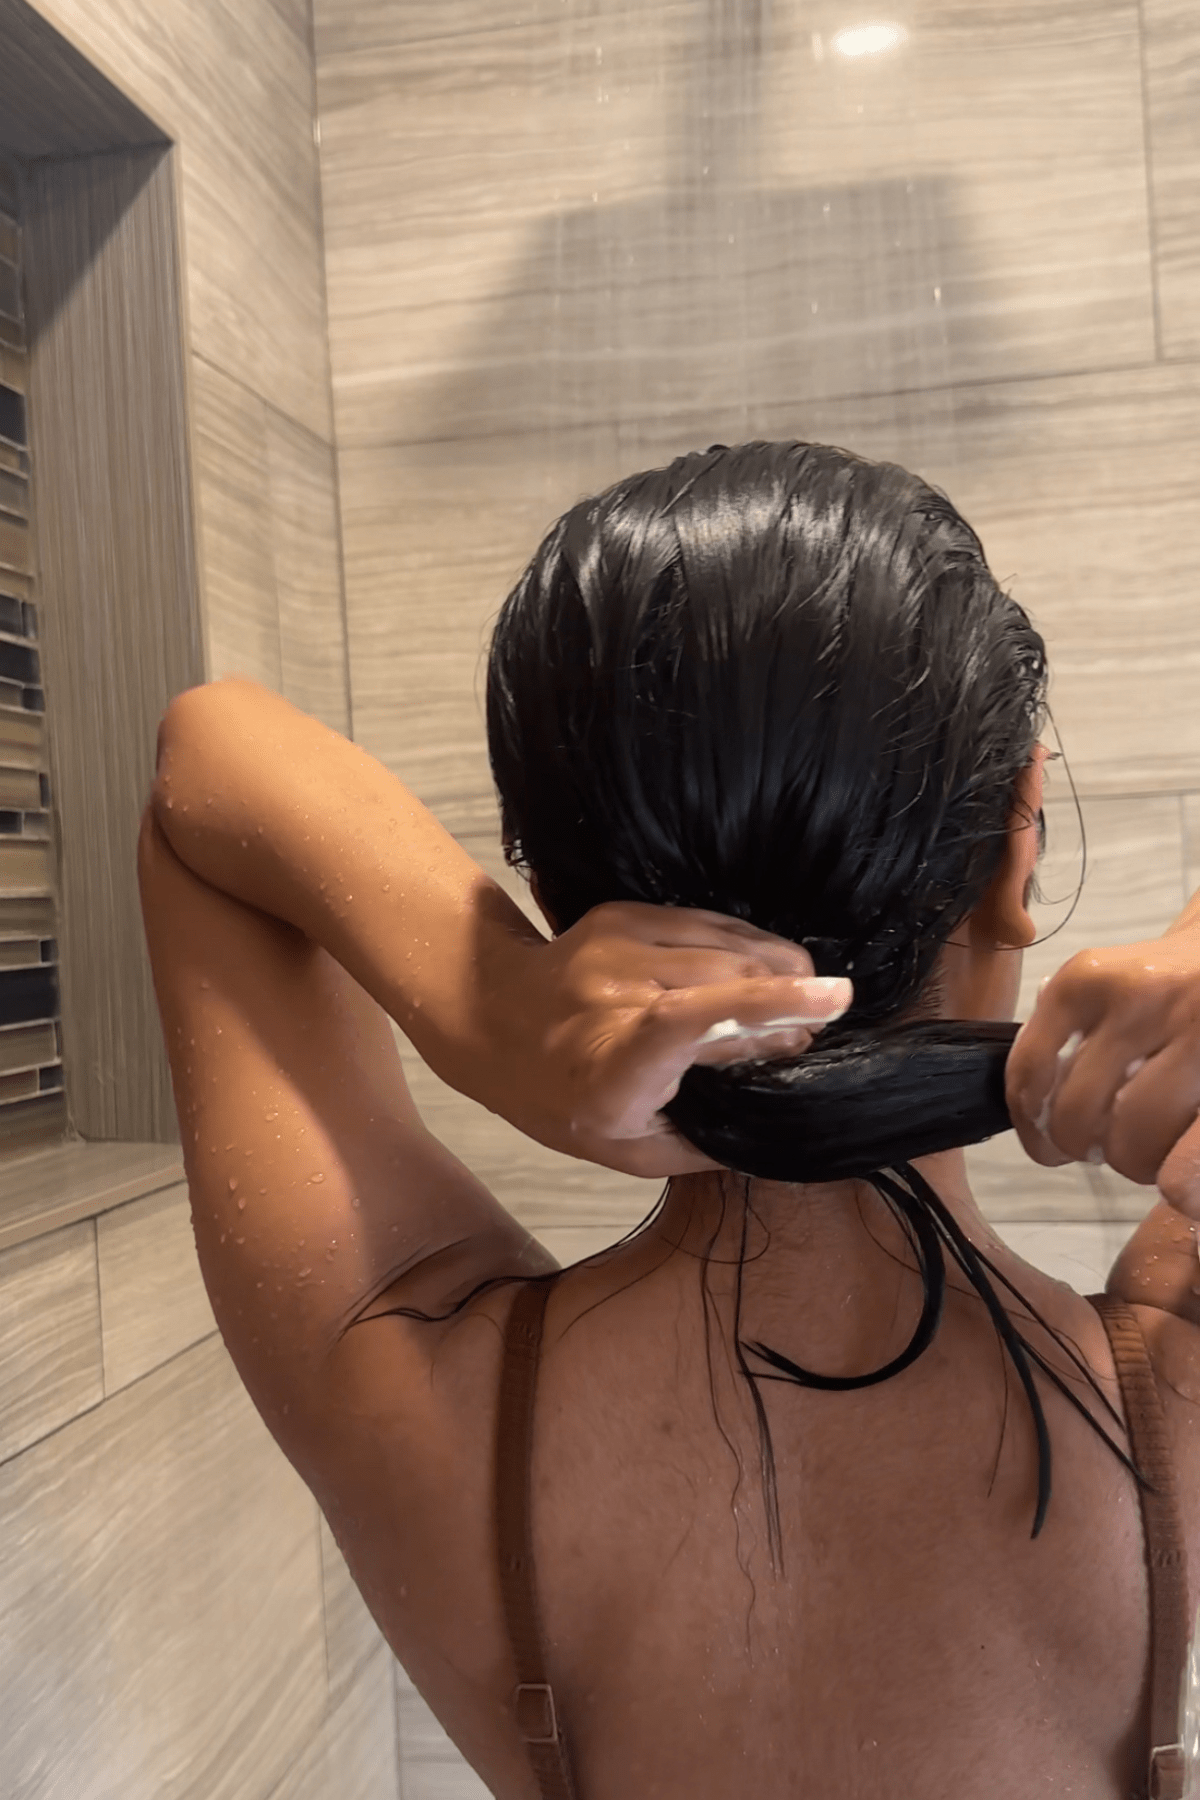
Source: Personal Image
After shampooing, squeeze out extra water from your hair.
Apply the mask generously to mid-lengths and ends (don’t overload roots).
Comb through gently to distribute evenly.
Leave on for 10–30 minutes, or longer with a shower cap or warm towel.
Rinse with cool water to seal the cuticle and lock in the benefits.
Alternate your mask depending on what your hair needs that week. As:
Feeling dry and frizzy? → Use Dove or Olaplex No.8
Feeling weak and snappy? → Reach for Matrix Instacure
Step 3: Use the Right Hair Oils For Damaged Hair

Source: Personal Image
Now that you’ve rebuilt and rehydrated your hair, it’s time to lock in all that goodness, and the secret weapon is hair oil.
If you’re deep conditioning and bond repairing but skipping this step, your hair is likely drying out again by the next day.
Oils don’t “repair” damage from the inside, but they do seal the outer layer of your hair, smooth split ends, reduce frizz, and give you that soft, shiny finish we all want. They’re also amazing for protecting your ends between washes.
And no, hair oils aren’t just for thick, coarse, or curly hair. You just need the right one for your texture.
Why Oils Matter in a Repair Routine
Seal in hydration from your treatments and masks so it doesn’t evaporate
Protect the ends (the oldest, most fragile part of your hair)
Add softness and shine without needing heat styling
Create a protective barrier from humidity, dryness, and friction (like pillowcases)
Best Hair Oils for Damaged Hair
| Product | Best For | Why I Recommend It | Where to Buy |
|---|---|---|---|
| Olaplex No.7 Bonding Oil | Fine to medium strands needing shine and protection | Lightweight, non-greasy, and helps seal split ends. Just a few drops go a long way. | Buy Here |
| Dove 10-in-1 Bond Strength Repair Oil | Everyday softness and heat-free smoothing | Affordable and effective. Feels like a dry oil. Great for daily use without buildup. | Buy Here |
| Aveda Miraculous Oil High-Shine Hair Concentrate | Coarse, dry, or frizz-prone hair | Adds beautiful shine and smoothness without heaviness. Great finish for twist-outs or sleek styles. | Buy Here |
How to Use Hair Oil for Damage Repair

Source: Personal Image
Start with a tiny amount, 1–3 drops depending on your hair density.
Rub between your palms to warm it up.
Apply to mid-lengths and ends only (not the roots).
Use on damp hair after washing, or on dry hair between wash days, to tame frizz and smooth.
Ditch These Habits That Keep Damaging Your Hair
Now that you’ve started treating your hair right with bond builders, masks, and oils… let’s make sure you’re not undoing all that progress without realizing it.
Below are the first behaviors you need to break.
The Hair Habits You Need to Retire (ASAP)
Brushing soaking wet hair with the wrong tool: Your hair is most fragile when wet. Always use a wide-tooth comb or detangling brush starting at the ends, not the roots.
Tight ponytails, buns, or slicked-back styles every day: Constant tension = constant breakage. Rotate in looser styles or use soft satin scrunchies to reduce stress on your strands.
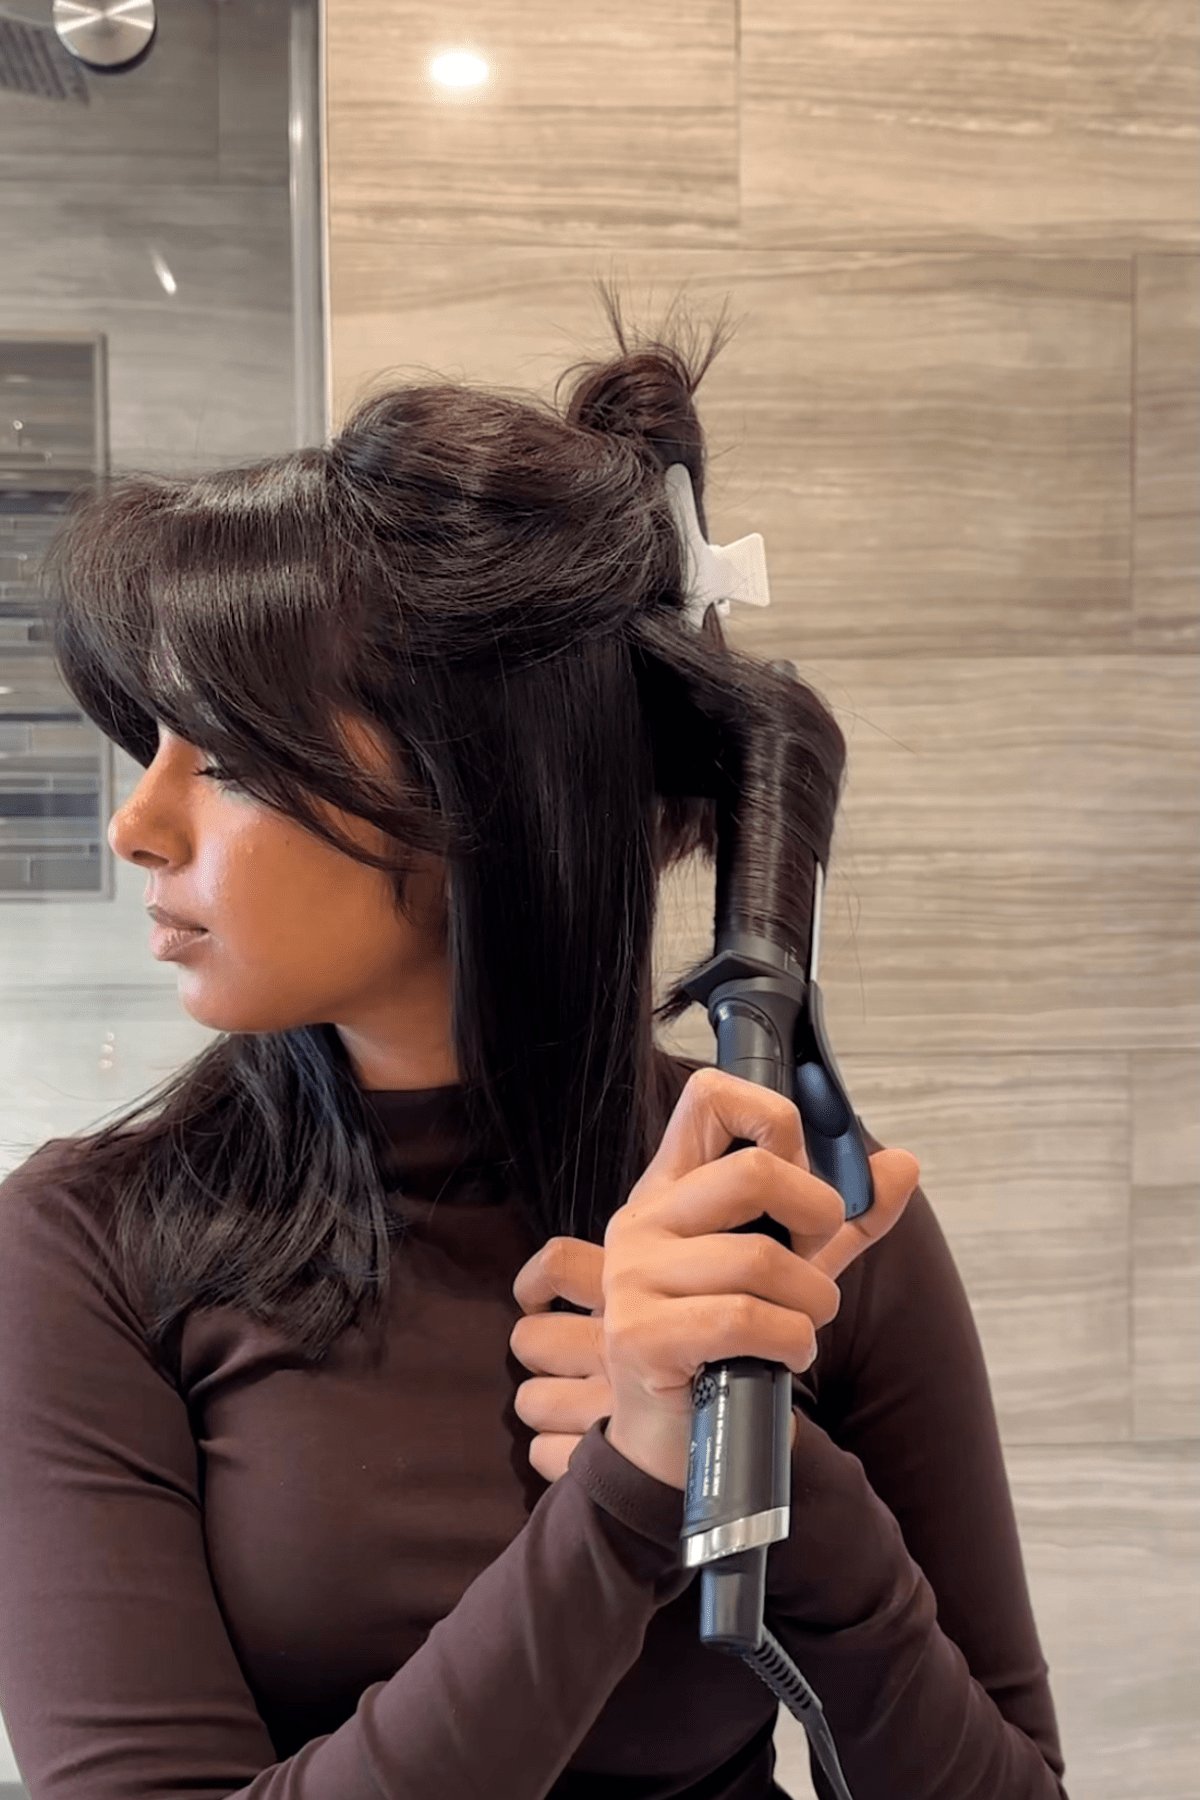
Daily heat styling without a break: Curling irons and flat irons cook the moisture right out of your hair, even with heat protectant. Try heatless styles a few times a week to let your hair recover.
Skipping heat protection when you do use hot tools: No matter how “quick” it is, always use a heat protectant. Every single time. It's like sunscreen for your hair.
Sleeping with your hair loose on a cotton pillowcase: Cotton causes friction that leads to tangles, dryness, and frizz. Use a silk or satin pillowcase or wrap your hair in a bonnet at night.
These little things matter more than you think. You can spend $300 on treatments, but if you’re rough-brushing wet hair or frying it daily, you’re taking one step forward and two steps back.
Stick to a Weekly Hair Repair Routine That Works
So if you want to fix damaged hair fast at home, this is the routine I recommend, and it works whether your hair is curly, straight, relaxed, bleached, or somewhere in between.
Weekly Hair Repair Schedule
| Day | Focus | What to Do |
|---|---|---|
| Sunday | Reset & Rebuild | Clarify if needed → Apply bond repair (Olaplex No.3 or Garnier) → Shampoo + light conditioner |
| Wednesday | Moisture Boost | Shampoo → Deep conditioning mask (Dove, Matrix, or Olaplex No.8) → Cool rinse |
| Daily | Maintain & Protect | Use a few drops of oil on ends → Avoid tight styles → Use silk scrunchies or wrap hair at night |
Pro Tips to Make It Stick
Set reminders on your phone or add it to your planner so you don’t forget.
Keep your products visible. If you see them, you’ll use them.
Track how your hair feels weekly (softness, frizz level, breakage), so you notice real progress.
If your hair starts feeling weighed down, alternate between your bond repair and your mask.
| Hair Repair Tips & Treatments |
|---|
| If you’re dealing with damaged hair and need expert guidance on repairing, strengthening, and rejuvenating strands, these articles have helpful steps and tips: |
Fix Common Mistakes That Sabotage Hair Repair
| Mistake | Why It Happens | How to Fix It |
|---|---|---|
| Using Too Much Protein | Some bond-building or “strengthening” products are protein-rich. When overused, they can make hair feel stiff, brittle, or straw-like. | Alternate with moisture masks. If hair starts feeling hard, take a break from protein for one to two weeks. |
| Overloading Fine Hair with Heavy Products | Thick masks and oils can weigh down fine hair, making it look limp or greasy. | Use lightweight masks like Dove 10-in-1 and apply oils sparingly, just one to two drops on the ends. Avoid the roots. |
| Overusing Heat Protectants or Stylers | Layering too many products without rinsing or clarifying causes buildup. This blocks moisture and leaves hair dull. | Simplify the routine to one treatment, one mask, and one oil. Clarify every two to three weeks with a gentle cleanser. |
| Skipping Consistency | Trying something once or twice and stopping too soon. Hair repair does not happen in a single wash day. | Stick to a weekly routine for at least four to six weeks before judging results. Track progress over time. |
| Applying Products Incorrectly | Slathering products on soaking wet hair or applying too much at once reduces effectiveness. | Always towel blot first, apply from mid-lengths to ends, and comb through for even distribution. A little goes a long way. |
Track Your Progress & Know When to Trim
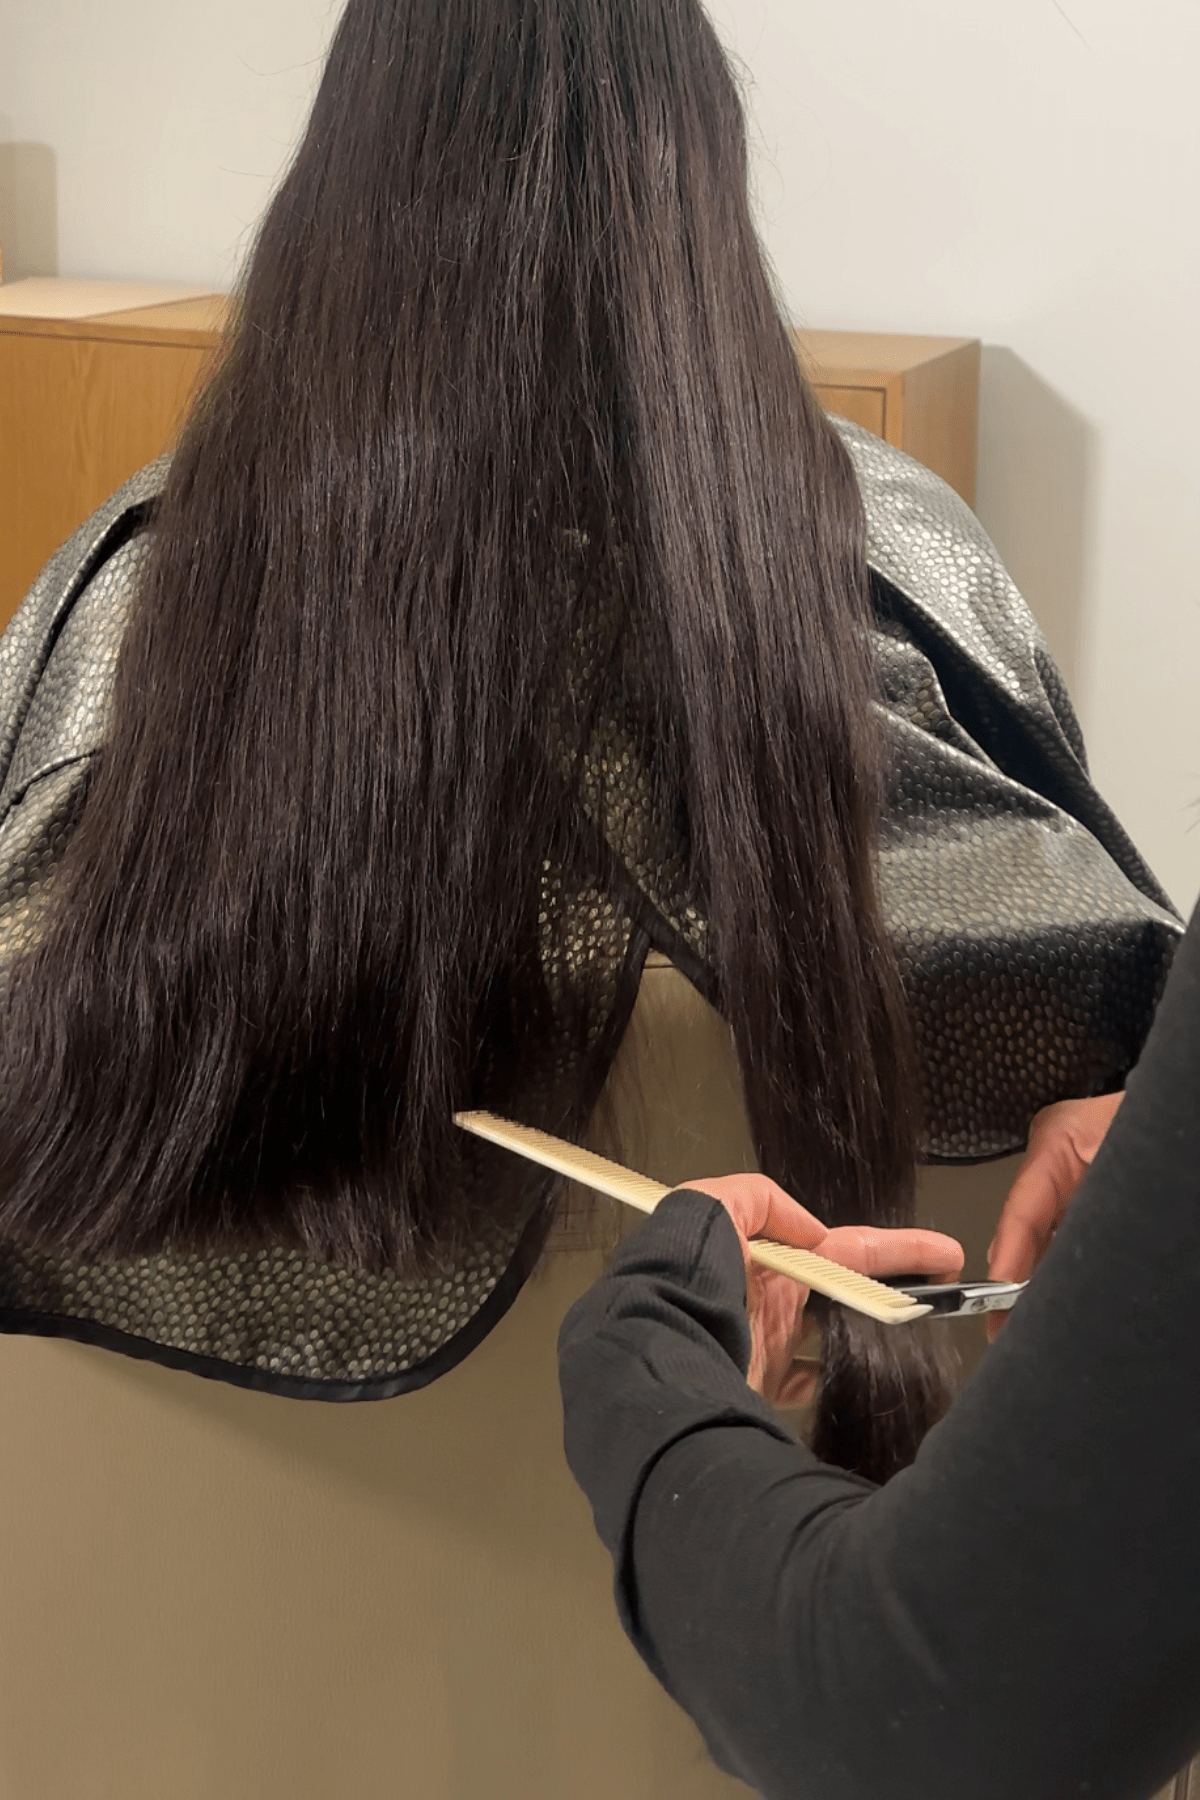
Source: Personal Image
Hair repair isn’t always linear, but when you track small changes, you’ll start to see the signs that it’s working. Your hair might not go from brittle to perfect overnight, but if you stay consistent, you will see progress.
Here’s how to keep tabs on your recovery journey:
Take a photo of your hair once a week in the same lighting
Jot down notes on how your hair feels after wash day: softer? easier to detangle? less frizz?
Check the ends: are they still splitting or starting to feel stronger?
Watch how your hair behaves when it’s wet, that’s often the first place you’ll notice real improvement
When to trim hair: If your ends are still snagging, knotting up, or feeling rough even after all your treatments, it’s time for a light trim. You don’t need to cut off a ton. Removing even ½ inch of severely split ends will stop damage from traveling up the hair shaft and help all your repair work actually stick.
Final Word From Haiirology
Damaged hair doesn’t mean ruined hair.
With the right care, the right products, and a little consistency, you can absolutely bring your hair back to life, even if it feels dry, brittle, or beyond help right now.
At Haiirology, we believe in real repair routines that work at home, not just salon miracles.
You don’t need a $200 treatment to start seeing results. You need a clear plan, solid products (like the ones we covered above), and a few shifts in your habits.
You now have a step-by-step guide to fix damaged hair.
Be patient. Stay consistent. And don’t underestimate how much your hair can heal.
Want more personalized help? DM me on Instagram @HaiirologyByJen. I’m here to support you every step of the way.


Learn how to style a shag haircut at home with easy, hairstylist-approved methods for volume, texture, and defined layers that don’t fall flat.