What Makes the Denman Brush So Good for Curly Hair? A Real Review from a Pro Stylist

This post may contain affiliate links, which means I'll receive a commission if you purchase through the link at no extra cost to you. Please read the full disclosure here.
TL;DR
If your goal is defined, frizz-free curls, yes, the Denman Brush is worth the hype. As a stylist, I’ve used it on 100+ curly-haired clients, and 80% saw better curl definition and less frizz compared to basic detangling brushes or wide-tooth combs. Results shine on textures from 2C to 4A.
Best for:
- Anyone following the Curly Girl Method.
- Curlies wanting to clump and define curls without heat.
- Those needing a brush that won’t rip or flatten texture.
- Ultra-fragile, dry coils that can’t tolerate tension.
- Anyone unwilling to learn proper brushing technique.
Why I Trust the Denman Brush for Curly Hair
I’ve been behind the chair for over 10+ years now, and if there’s one truth about curls, it’s that no two heads are the same. That’s why I’m so picky about the tools I recommend, especially for detangling and defining.
The Denman brush has been floating around the curl community for years, but I’ll admit, I didn’t jump on the bandwagon right away. I wanted to be sure it worked across textures, not just for influencers with perfect ringlets.
So, what changed?
One of my regulars, a curly girl with thick, high-porosity 3B hair, walked in with the most juicy, defined curls I’d ever seen on her. When I asked what changed, she said, “It’s the Denman. That’s it.” I was sold.
Since then, I’ve tested it on my clients with 2C waves to 4A coils, and the results have been shockingly consistent:
Better curl clumping
More styling control
It’s now one of my top recommendations when someone asks for the best brush for curly hair that works, especially if they’re stuck between frizz and flatness.
Let's Unbox the Denman Brush for Curly Hair Together!
I went with the Denman D3 Original Styler, the 7-row version, which is considered the gold standard for defining curls without creating too much tension. If you're torn between the D3 and D4, don’t worry, we’ll break that down later.
When it arrived, it came in a simple, no-fuss plastic sleeve with branding and usage instructions. Nothing fancy, but functional. The first thing I noticed? It’s lightweight but feels solid. You can tell it’s designed to last.
Mine cost just under $25 on Amazon, but the price varies slightly depending on colour and handle type. It’s worth noting that some colours and limited editions can run closer to $30+, so keep an eye out for sales or bundles.
The rubber pad was firm, and the nylon pins were evenly spaced with little ball tips, not too scratchy, but strong enough to glide through thick curls. It doesn’t feel flimsy or cheap in the hand, and unlike some dupe brushes I’ve tested, this one holds up during styling without bending.
First impression? It looks and feels like a tool made for stylists, not gimmicky, not overhyped. And for under $30? That’s rare.
Experience My First Styling Session with the Denman Brush
The first time I used the Denman brush for curly hair, I tested it on one of my clients with 3A curls. Her hair was freshly washed, damp (not soaking), and we’d applied a lightweight leave-in cream beforehand. I started brushing from the ends upward, and I could feel the tension working to clump the curls right away.
What surprised me is that even without using gel or a diffuser, the curls started forming into ribbons just from the brush movement. That’s not something I usually see unless we rake and scrunch for several minutes. The bristle tension and spacing in the Denman make it a curl-defining brush, more than just a detangling tool!
It glided well, didn’t snag, and even worked when I tried it on thicker 3C coils the following day. The trick? Use smaller sections and angle the brush down as you glide through.
I’ll share a step-by-step technique below.
See the Results
Here’s a quick visual of how it performed:
Before brushing: Loose, undefined curls with some frizz.

Source: Personal Client Image shared with Permission
After styling wet with the Denman: Juicy, clumped spirals, no added gel.

Source: Personal Client Image shared with Permission
Fully dry: Defined, touchable curls with minimal frizz and great shape.

Source: Personal Client Image shared with Permission
(Product used: Leave-in conditioner + a few drops of lightweight oil. No diffuser. Air-dried.)
Here's How I Compare Denman D3 vs D4 for Curly Hair
If you’ve Googled “Should I get the Denman D3 or D4?” let's shake hands. It’s one of the most common questions I get from clients. Both are designed to enhance curl definition, but the difference lies in row count and how much tension they apply.
Here’s a quick side-by-side:
| Feature | Denman D3 | Denman D4 |
|---|---|---|
| Number of Rows | 7 rows | 9 rows |
| Best For | 2B-3C curls needing shape and clump | 3C-4A curls needing more tension |
| Tension Level | Medium (more control, less pull) | Higher (great for thick/dense hair) |
| Flexibility | Slightly more flexible pad | Firmer pad and tighter spacing |
| My Take | Great all-rounder for defining without over-pulling | Ideal for tighter curls and smoothing roots |
Pro Tip
- If your curls are on the looser or finer side (2C-3B), go with the D3. It gives you enough definition without flattening the volume.
- If you’ve got dense, springy curls or coils (3C-4A) and need extra control and tension, the D4 will give you that firmer hold.
I’ve used both in the salon, and they do perform differently depending on hair type.
But if still stuck?
Start with the D3, it’s more beginner-friendly, and you can always upgrade if you want more grip later.
And for those wondering:
The Denman Paddle Brush is great too, but it’s more of a smoothing tool than a curl shaper. It doesn’t create the same definition you get from the D3 or D4.
See What the Denman Brush Does for Curly Hair
So, what exactly does the Denman brush do that makes curly folks rave about it?
In one word: definition.
Unlike basic detangling brushes that are designed to glide through hair with minimal resistance, the Denman is meant to create just the right amount of tension as it moves through wet hair. That tension activates your curl pattern, encouraging each section to form into uniform clumps, rather than separating into frizz.
It’s especially powerful when used during styling (on wet hair with product), not just for detangling. You’ll notice how curls group together like ribbons, something a wide-tooth comb or Wet Brush simply can’t achieve.
Here’s how it compares to other tools:
| Feature | Denman Brush | Wet Brush | Bounce Curl Brush |
|---|---|---|---|
| Best For | Curl definition & shaping | Gentle detangling only | Lightweight shaping |
| Tension Level | Medium-Firm | Very gentle | Soft |
| Price Range | $20-$25 | Under $15 | Around $30 |
| My Take | Best curl clumper with technique | Great for fragile curls | Nice for waves, not great for defining |
Let’s Talk Denman Brush Pros and Cons (Because Every Tool Has Both)

You know I’ll always give it to you straight, so while I do love the Denman brush, it’s not perfect for everyone or every situation. Let’s break down what I’ve seen in the salon:
What I Love
- ▪ Incredible curl definition: Honestly, it clumps curls better than most curling gels can on their own.
- ▪ Lightweight and easy to clean: Pop out the pad, rinse, done. Way easier than cleaning gunk from a paddle brush.
- ▪ Works on wavy hair too: Not just for tight coils, it defines 2C-3B curls beautifully with the right technique.
What Could Be Better
- ▪ There’s a learning curve: If you’re brushing too fast or at the wrong angle, it can pull or frizz out your hair.
- ▪ Not for dry brushing: Only use it on soaking wet or damp hair with product; otherwise, it will cause breakage.
- ▪ Not ideal for very fragile strands: For super fine or high-porosity curls, I sometimes swap this out for a gentler detangler like the Wet Brush.
👉 Not sure if your hair is curly or wavy? Check out my guide on Curly vs. Wavy Hair to understand the key differences and find the best care routine for your hair type!
Here’s Exactly How to Use the Denman Brush for Curly Hair (Step-by-Step)
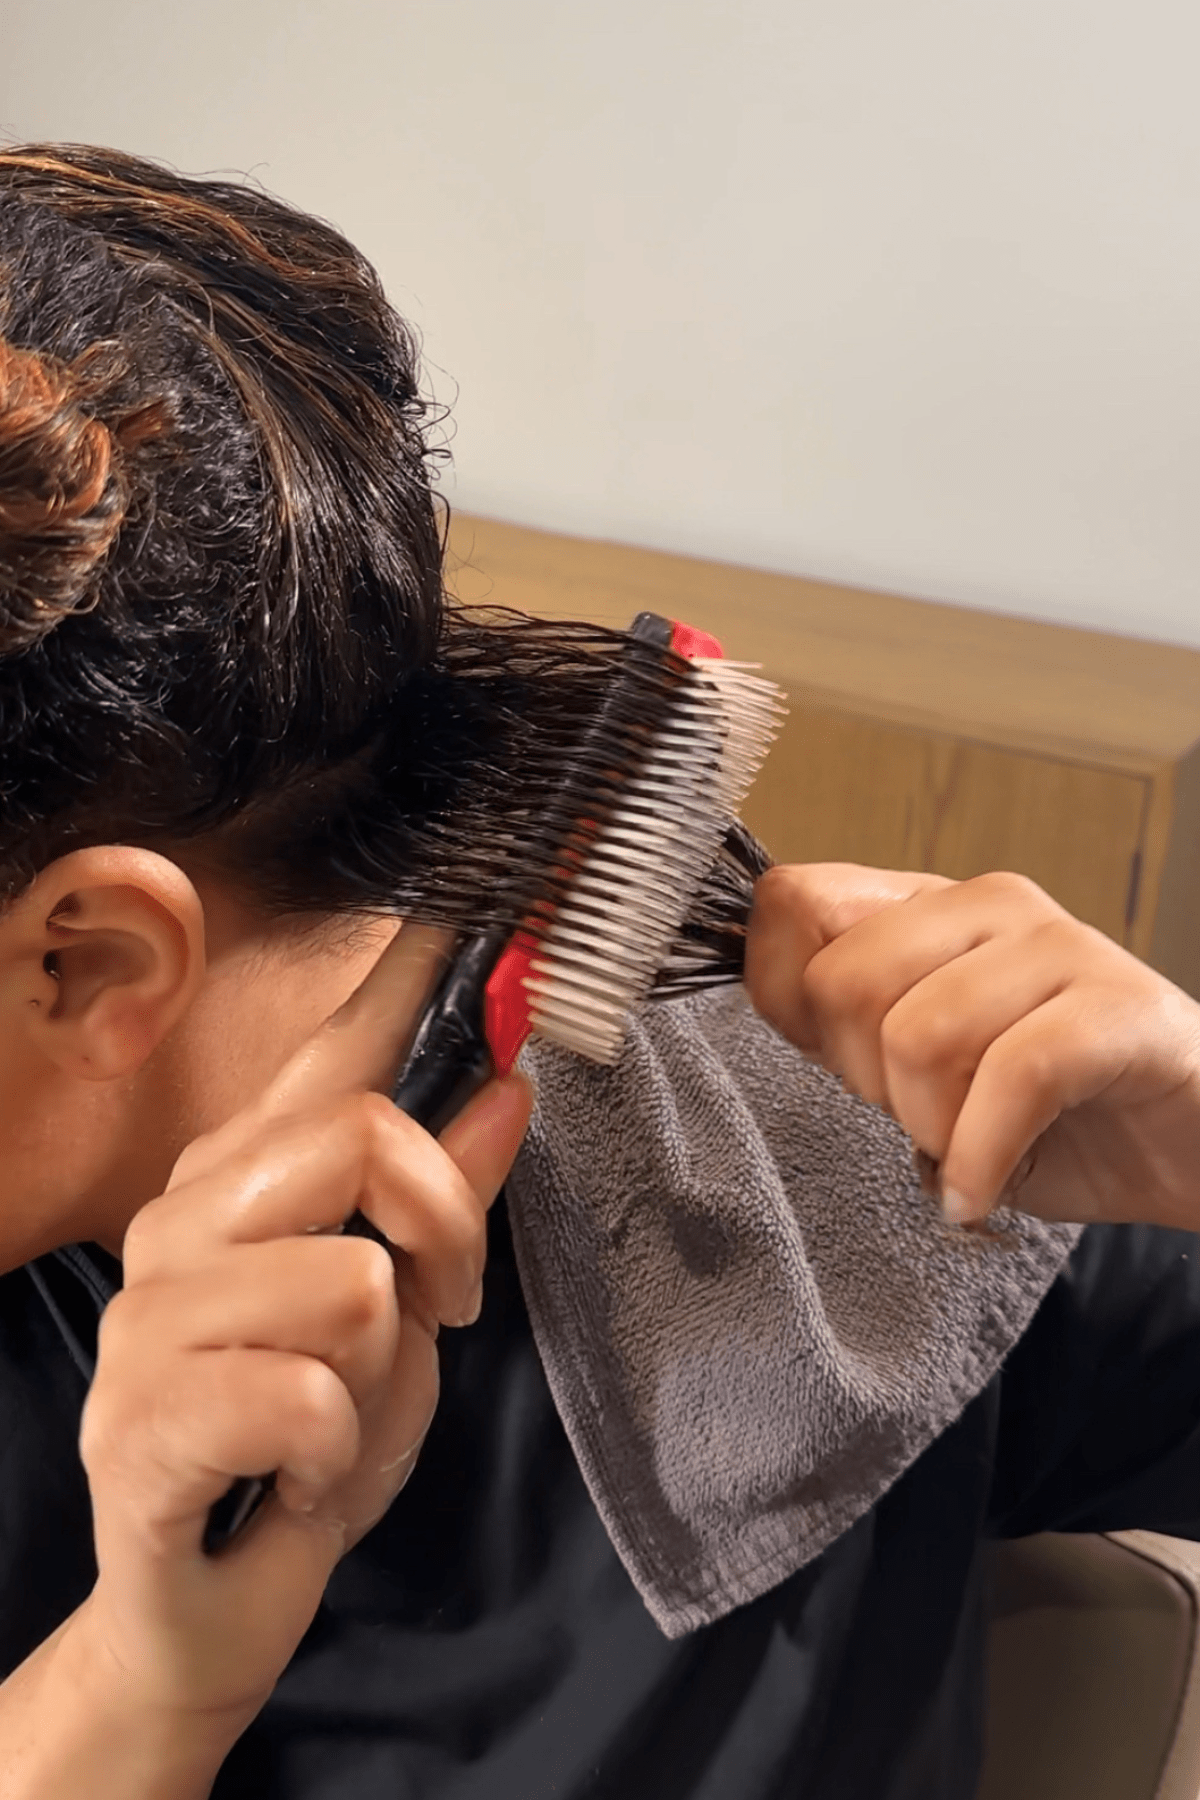
Source: Personal Client Image shared with Permission
If you’ve ever tried the Denman brush and thought, “Wait, why is this not working for me?”, lemme tell you. It’s not just a brush-it-and-go tool. You need a few key steps to get that juicy, clumped curl moment.
Here’s how I teach my clients to use it in the salon:
Start with soaking wet, product-loaded hair: Apply your leave-in conditioner or curl cream while hair is still very wet. You want to make sure there is slip to your hair, so friction is the enemy of frizz here.
Work in sections: Divide your hair into 3/4 horizontal sections depending on your density. Don’t rush it.
Brush with intention: Angle the brush downward as you glide from roots to ends. Go slowly. You’ll see curls begin to clump and spiral as you move. If you want more volume, flip your head forward and brush upward from underneath.
Finger-coil or scrunch (optional): If you want extra definition, follow the brush pass with a quick finger-coil or light scrunch before moving to the next section.
Air-dry or diffuse: Don’t touch it while drying! Let those clumps set undisturbed, then fluff once dry.
This technique only works this well when the bristles and tension are designed right. Dupe brushes just don’t give the same clump.
| Curly Hair Styling & Blowout Essentials |
|---|
| From heat styling tips to low-effort curls and damage recovery, these guides have everything you need to make your hair routine smoother and more defined: Whether you’re diffusing, air drying, or going for a sleek finish, these tips will help you protect your curls while still switching things up. |
Is the Denman Brush Right for Your Curls?
Let’s make this easy, because not every brush is a fit for every curl.
Here’s who I recommend the Denman to:
Best For:
Type 2C to 4A curls looking for extra clump, shape, and bounce.
Anyone struggling with frizz or undefined curl patterns.
People who follow the Curly Girl Method and want to minimize product but still get definition.
Wavy-haired folks who want to level up from finger styling.
Might Not Be Ideal For:
Extremely fragile or high-porosity coils that break easily under tension.
Anyone who dry brushes (seriously don’t use it on dry hair!.)
Those who prefer low-effort styling and don’t like sectioning or brush technique.
My take?
If you’re willing to spend a few extra minutes learning how to use it, the Denman brush becomes a curl-defining MVP in your routine. I’ve seen it replace both detangling combs and diffusers for some of my clients.
FAQs: Denman Brush for Curly Hair
What does a Denman brush do for curly hair?
It defines. It clumps. It smooths. The Denman brush creates just enough tension through wet, product-coated hair to group strands together into juicy curls or coils, without frizz. It’s not just a detangler; it’s a curl-shaping tool.
Should I get Denman D3 or D4?
Go with the D3 (7-row) if you’re just getting started or have medium to fine curls (2C-3B). Choose the D4 (9-row) if you’ve got thick, dense, or tightly coiled hair (3C-4A) and want more tension and control. I’ve tested both. D3 is more forgiving for beginners, while D4 packs a tighter grip.
Is the Denman brush better than a Wet Brush?
For defining curls? Absolutely. The Wet Brush is great for gentle detangling, especially on fragile or damaged hair, but it doesn’t define or clump curls. The Denman does both, and that’s why it’s my go-to when styling curly hair in the salon.
Which Denman brush is best for frizzy hair?
Stick with the Denman D3 or D4, depending on your texture. The controlled tension is what tames frizz and boosts curl shape. Use it on wet, product-loaded hair, never dry, and follow up with a diffuser or air-dry.
How do I clean a Denman brush?
Just pop out the rubber pad, rinse it with warm water and shampoo, and scrub the bristles with a toothbrush if there’s buildup. It dries fast and stays fresh longer than other brushes I’ve used behind the chair.
My Pro Tips to Get the Best Results with a Denman Brush
This is where the stylist in me steps in because, the brush won’t work magic unless you’re using it right. Here’s what I tell my clients when they want that “I just left the salon” curl day at home:
Use the Right Tension and Angle
Always angle the brush downward from roots to ends. It helps smooth the cuticle and clump curls.
For tighter curl patterns, you may need a bit more tension, just don’t rush it. Go slow, especially near the ends.
👉 Want to master loose curls with your flat iron? Check out my step-by-step guide on How to Get Loose Curls with a Curling Iron for effortless, beachy waves that last all day!
Section Strategically
More sections = better definition.
Even if your hair isn’t super thick, 3-4 sections will make it easier to control the results and reduce frizz.
👉 Tired of the frizzy hair? Check out my guide on Medium-Length Haircuts for Wavy & Frizzy Hair for expert tips and styles that embrace your natural texture!
Use Slip-Boosting Products
Don’t skip your leave-in conditioner or curl cream. You need that product to help the brush glide. No slip = breakage.
I like to pair the Denman with lightweight creams or custards that help hold the shape without crunch.
Clean It Often
Once a week, pop the pad out and rinse it with warm water and gentle shampoo.
A quick toothbrush scrub clears out product buildup, which keeps your brush working like new.
Where to Buy the Denman Brush for Curly Hair
You’ve got a few solid options, but I always recommend buying from a trusted retailer, especially because there are knockoffs out there that don’t have the same bristle tension or quality.
My Go-To Spots:
Usually the best price and fastest shipping (just double-check it’s sold by Denman or an official distributor)
Great if you want to shop in-store and feel the brush before buying.
Reliable, especially for limited-edition colors or bundles.
Price range: Most models run around $20–25. I’ve seen some go on sale for under $18, and limited editions can go up to $30+.
Pro Tip
I compared prices across all three options and honestly, Amazon had the best deal at the time I bought mine. Just be sure it’s not a dupe. The real Denman will have firm bristles, a removable pad, and the signature logo stamped on the handle.
That’s where I got mine, and I’ve been using it on clients ever since.
My Final Take on Denman Brush
If you’ve been struggling to define your curls or reduce frizz, and you’re willing to learn a little technique, the Denman brush for curly hair could seriously change your routine.
It’s affordable, long-lasting, and once you get the hang of it, it becomes your secret weapon for clumping, shaping, and styling curls with minimal effort. I’ve used mine on every curl type from 2C to 4A, and the results speak for themselves.
Got questions about your hair type or how to use the Denman properly?
DM me on Instagram @HaiirologyByJen or leave a comment below!
I’m always here to help you decode your curls.


Struggling to get a salon-style blowout at home? These at-home blowout products break down what actually works, what to skip, and how to get smooth, long-lasting results without overdoing it.